Clients
Paid feature only
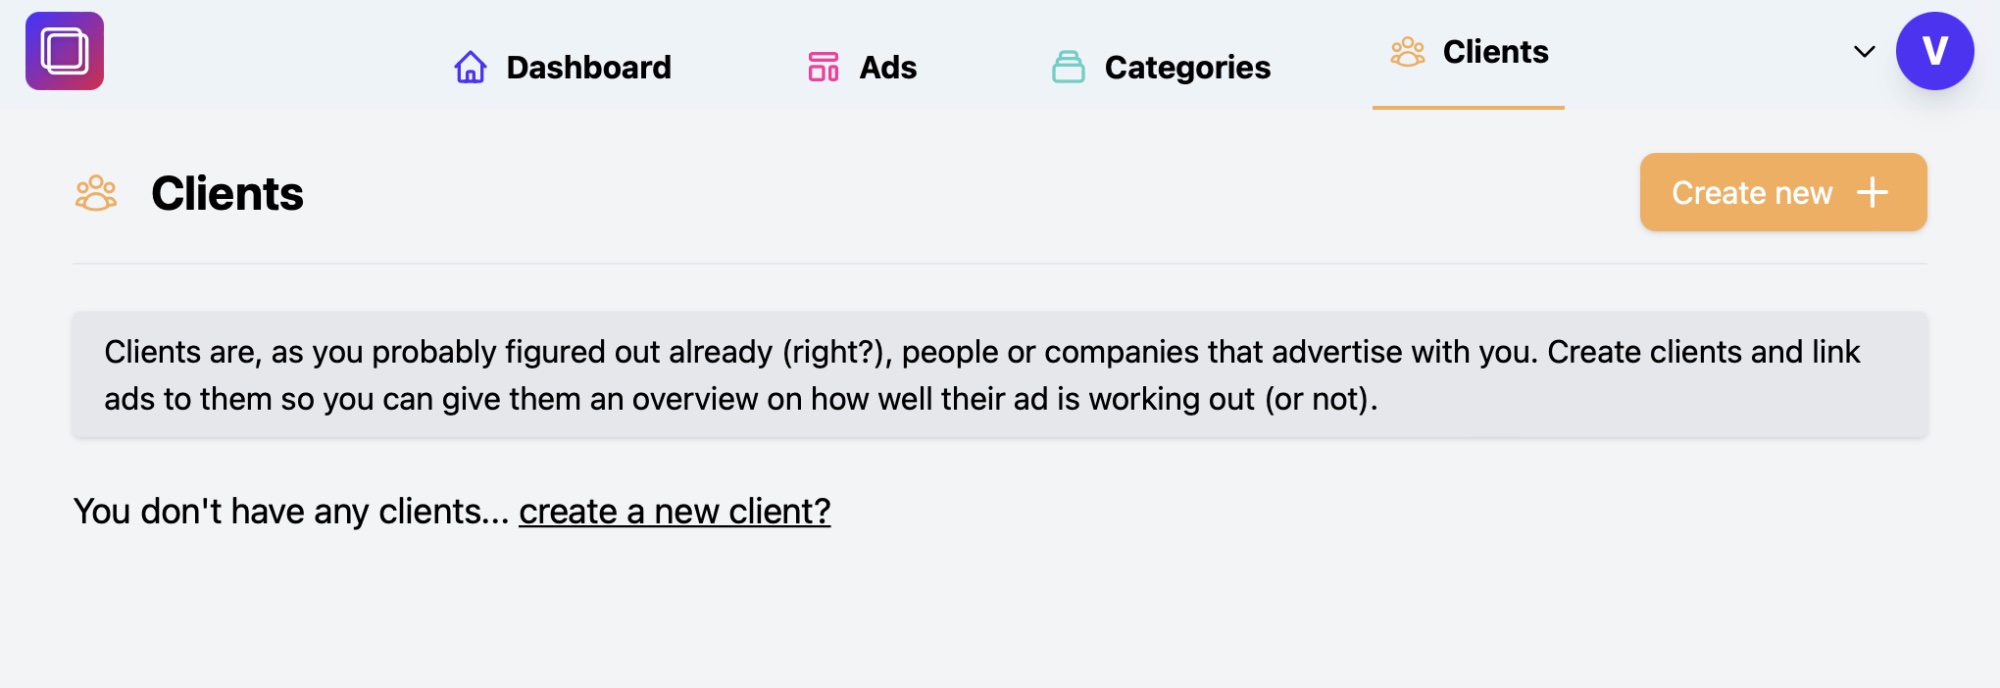
Clients are, as you probably figured out already, people or companies that advertise with you. Create clients and link ads to them so you can give them an overview on how well their ad is working out and some other things that are coming soon.
Overview
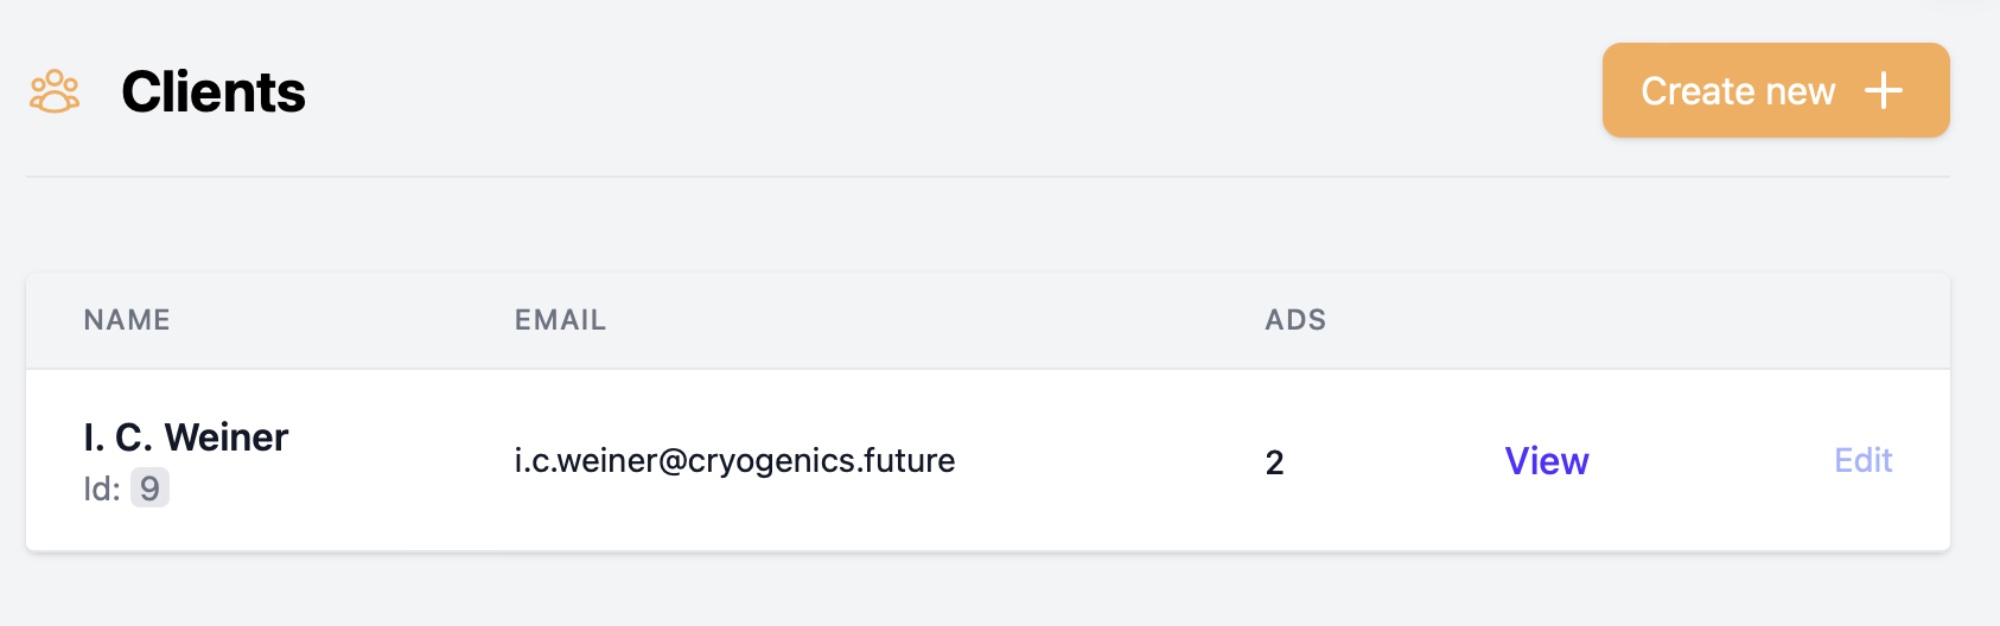
Clients is simple by default with just enough to stay informed and organised.
Once you add a client you can see an overview with the amount of ads available to the client.
Creating a client
Creating a client is super easy and doesn't take much mental thinking power. Great, right?
Tap/Click the Create new in the Client section and you'll be presented with a simple form.
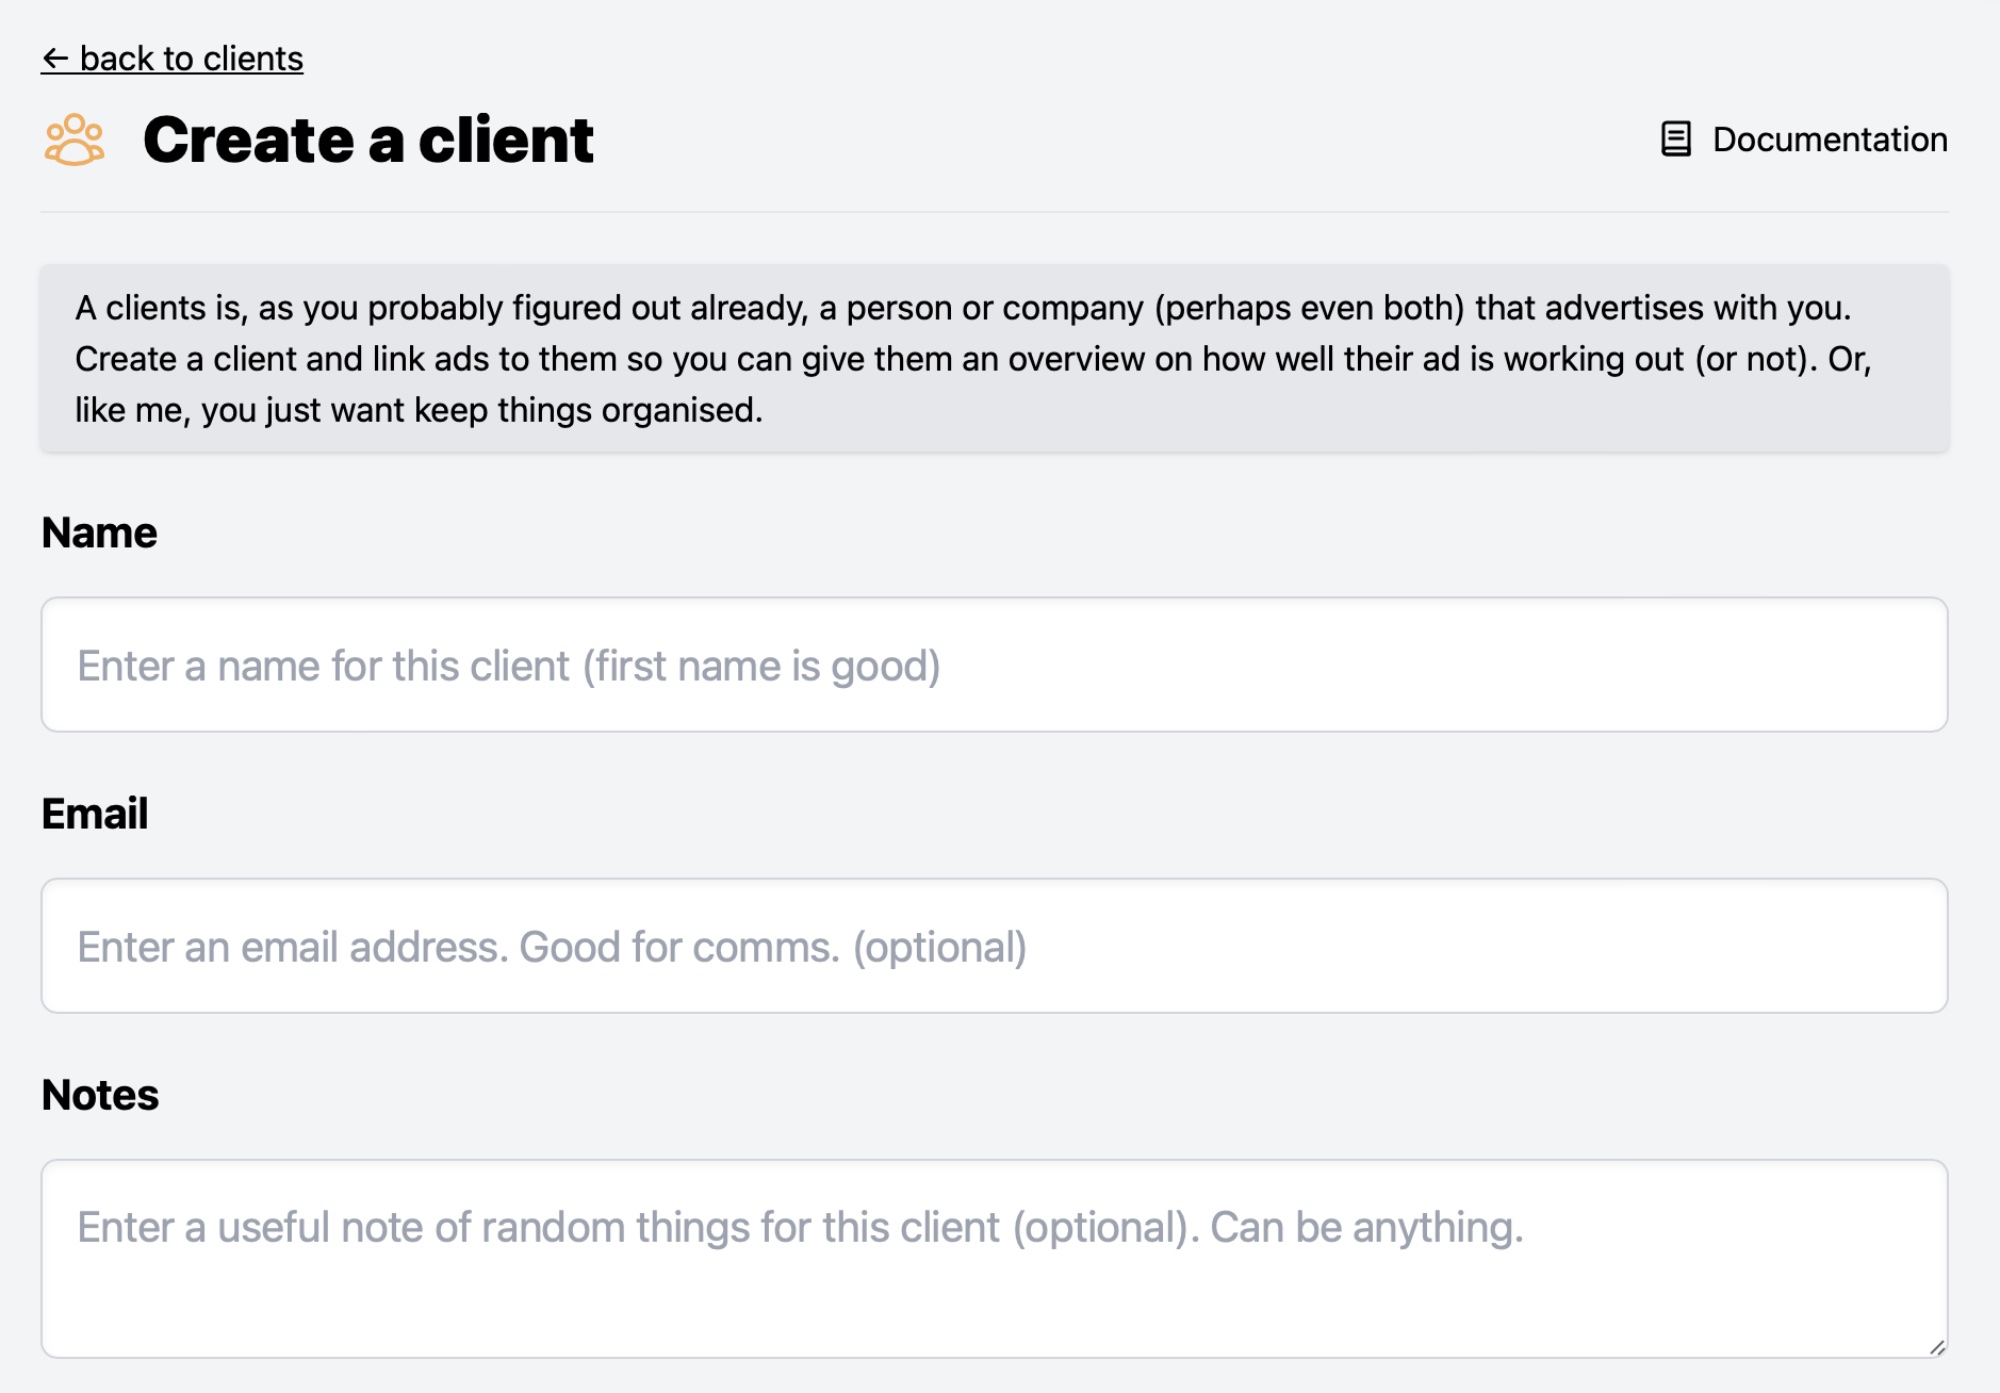
Anything marked with an asterix (*) is required. It's minimal and only a name required.
Let's go down the form, step by step:
Name
required
A name for the client. Easy.
An optional email field which can be used to contact the client at a later date and also to enable some new features in the future.
Notes
Some notes that are helpful for you to keep handy regarding the client. For example their favourite pizza.
Linked Ads
In this section you can link ads to a particular client. This is useful to organise your ads.
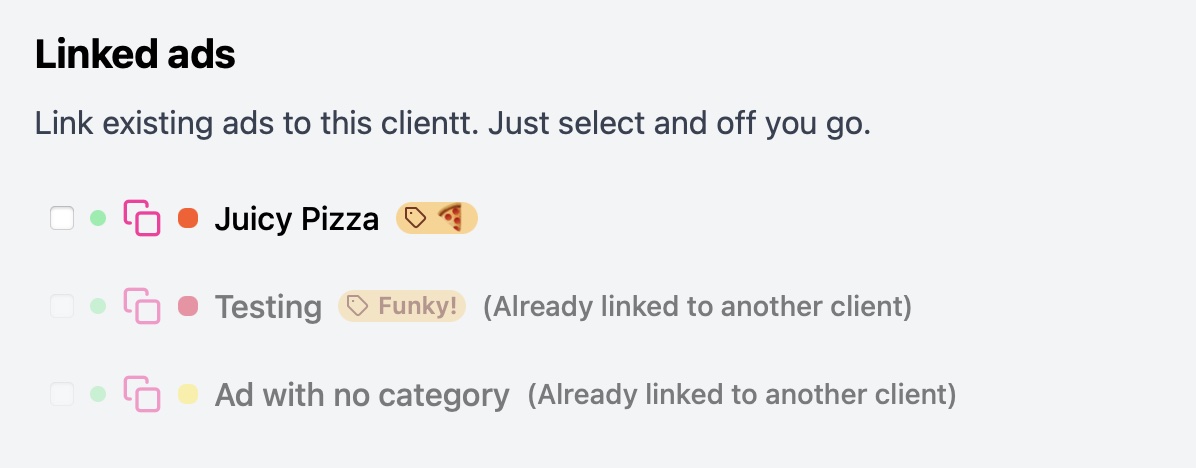
You can add as many ads to a client as long as they are not linked to another client.
Choose any available ad to have them linked to the client. You may edit this later on.
Only one ad per client
You can only link one ad per client and other ads will not be selectable.
Deleting a client will not delete the ad
When you delete a client, the ad will not be deleted. Statistics will also not be deleted as they are tied to the ad itself and not the client. This offers some safeguards.
Details
Once you have a client created you can view their details, including statistics (if available).
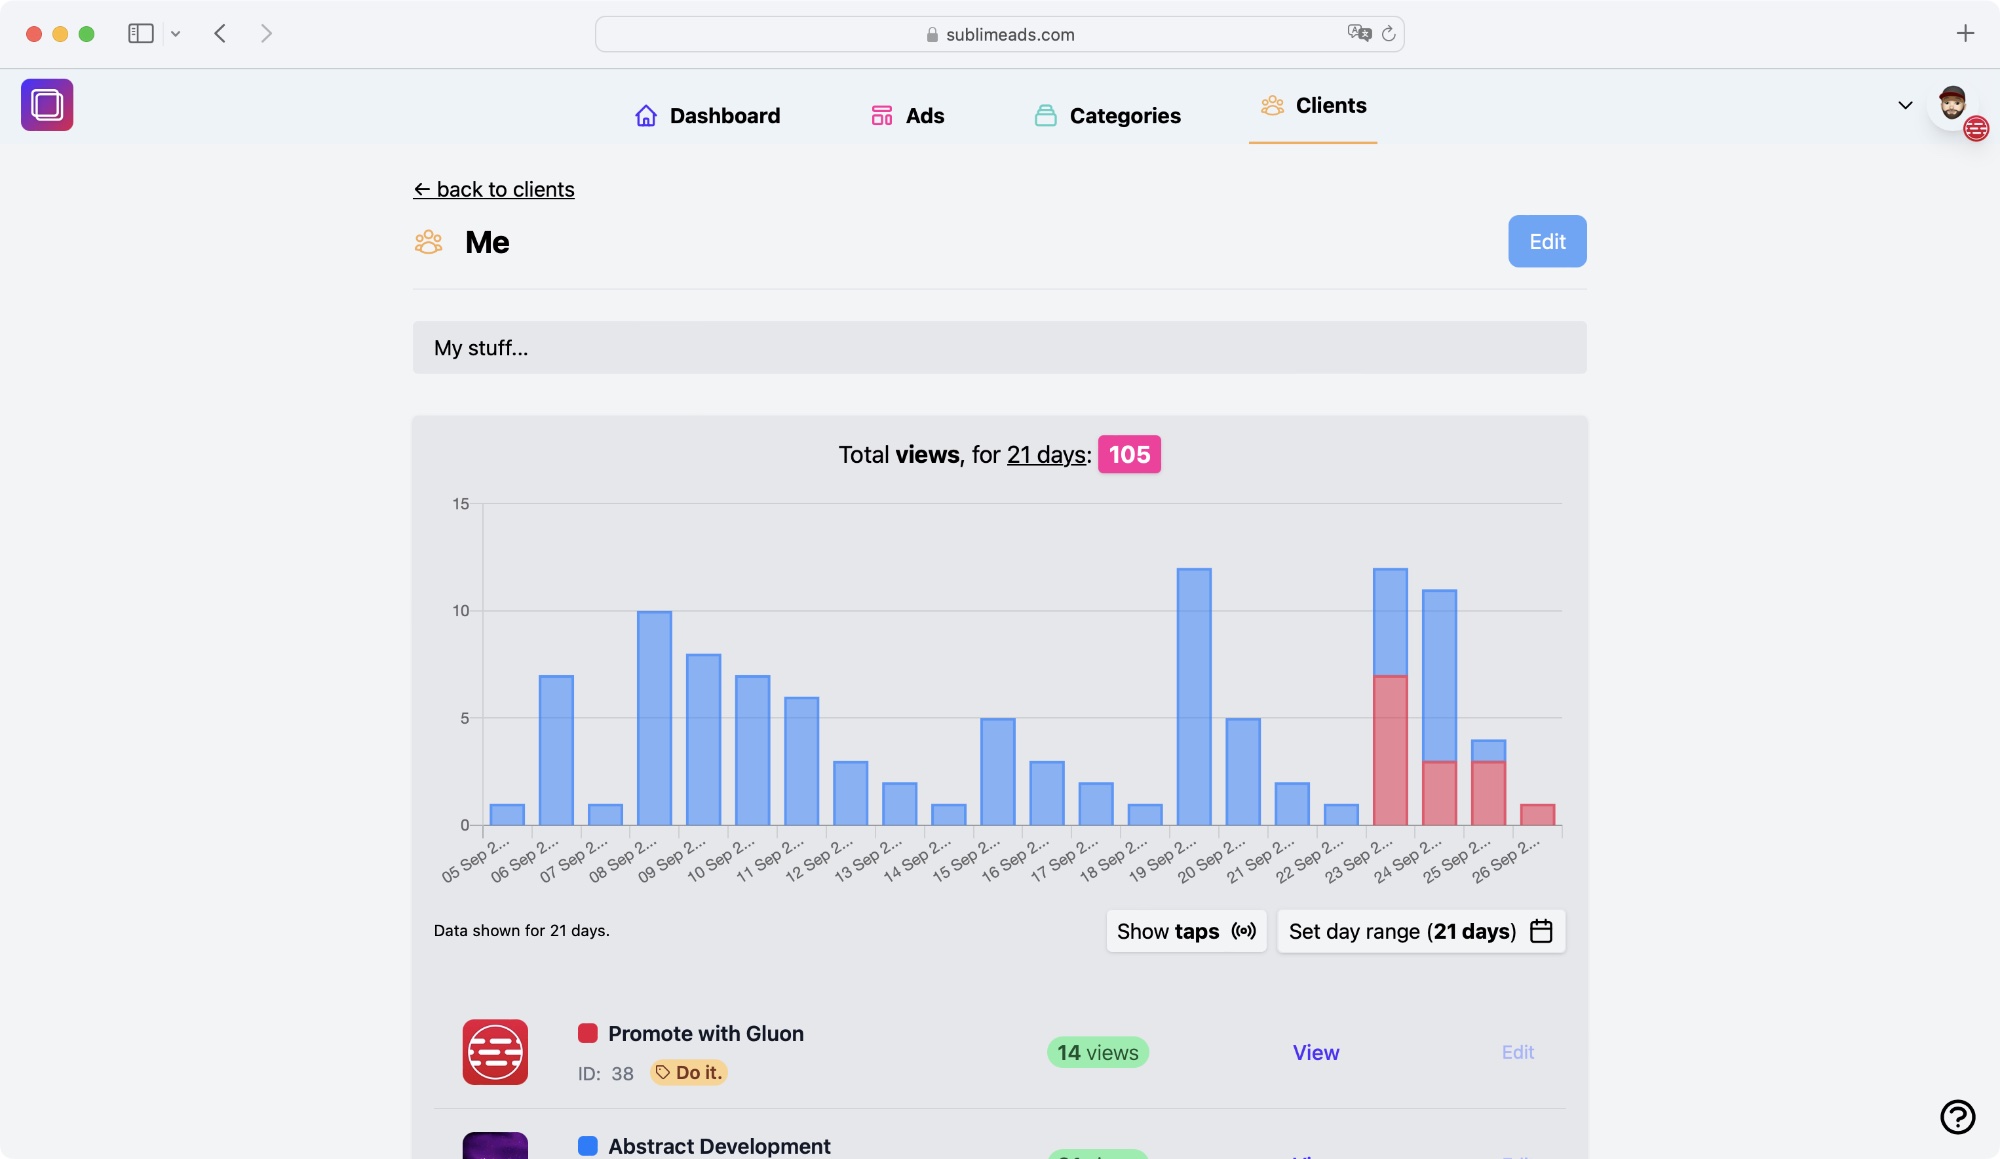
As always, you'll see relevant statistics for the linked ads.
Editing and deleting
You can edit a client by selecting Edit on the top right.
Once there, you can either edit the details and add or remove linked ads, or you can delete the client by selecting the Delete... button. Note that you'll have to confirm deletion.
Deleting a client will not delete the ad, or statistics
When you delete a client, the ad will not be deleted. Statistics will also not be deleted as they are tied to the ad itself and not the client. This offers some safeguards.
Client Portals
Client portals allow you to share a public page with your client, via a unique URL, allowing you to share real-time stats. Portals are unique to the client and can be enabled, or disabled, at any time and are optional. Nice to have though!
Portals are disabled by default, and you need to enable this on a per client basis. It's pretty easy to get started.
Portals, at this time, are basic on purpose right now. I've got a few things planned, so this is step 1.
Create a portal
Creating a portal is super easy and all you need to do is head over to your client and then select the "Portal" navigation icon, next to the edit button.

After this you'll be presented with the Create Portal section:
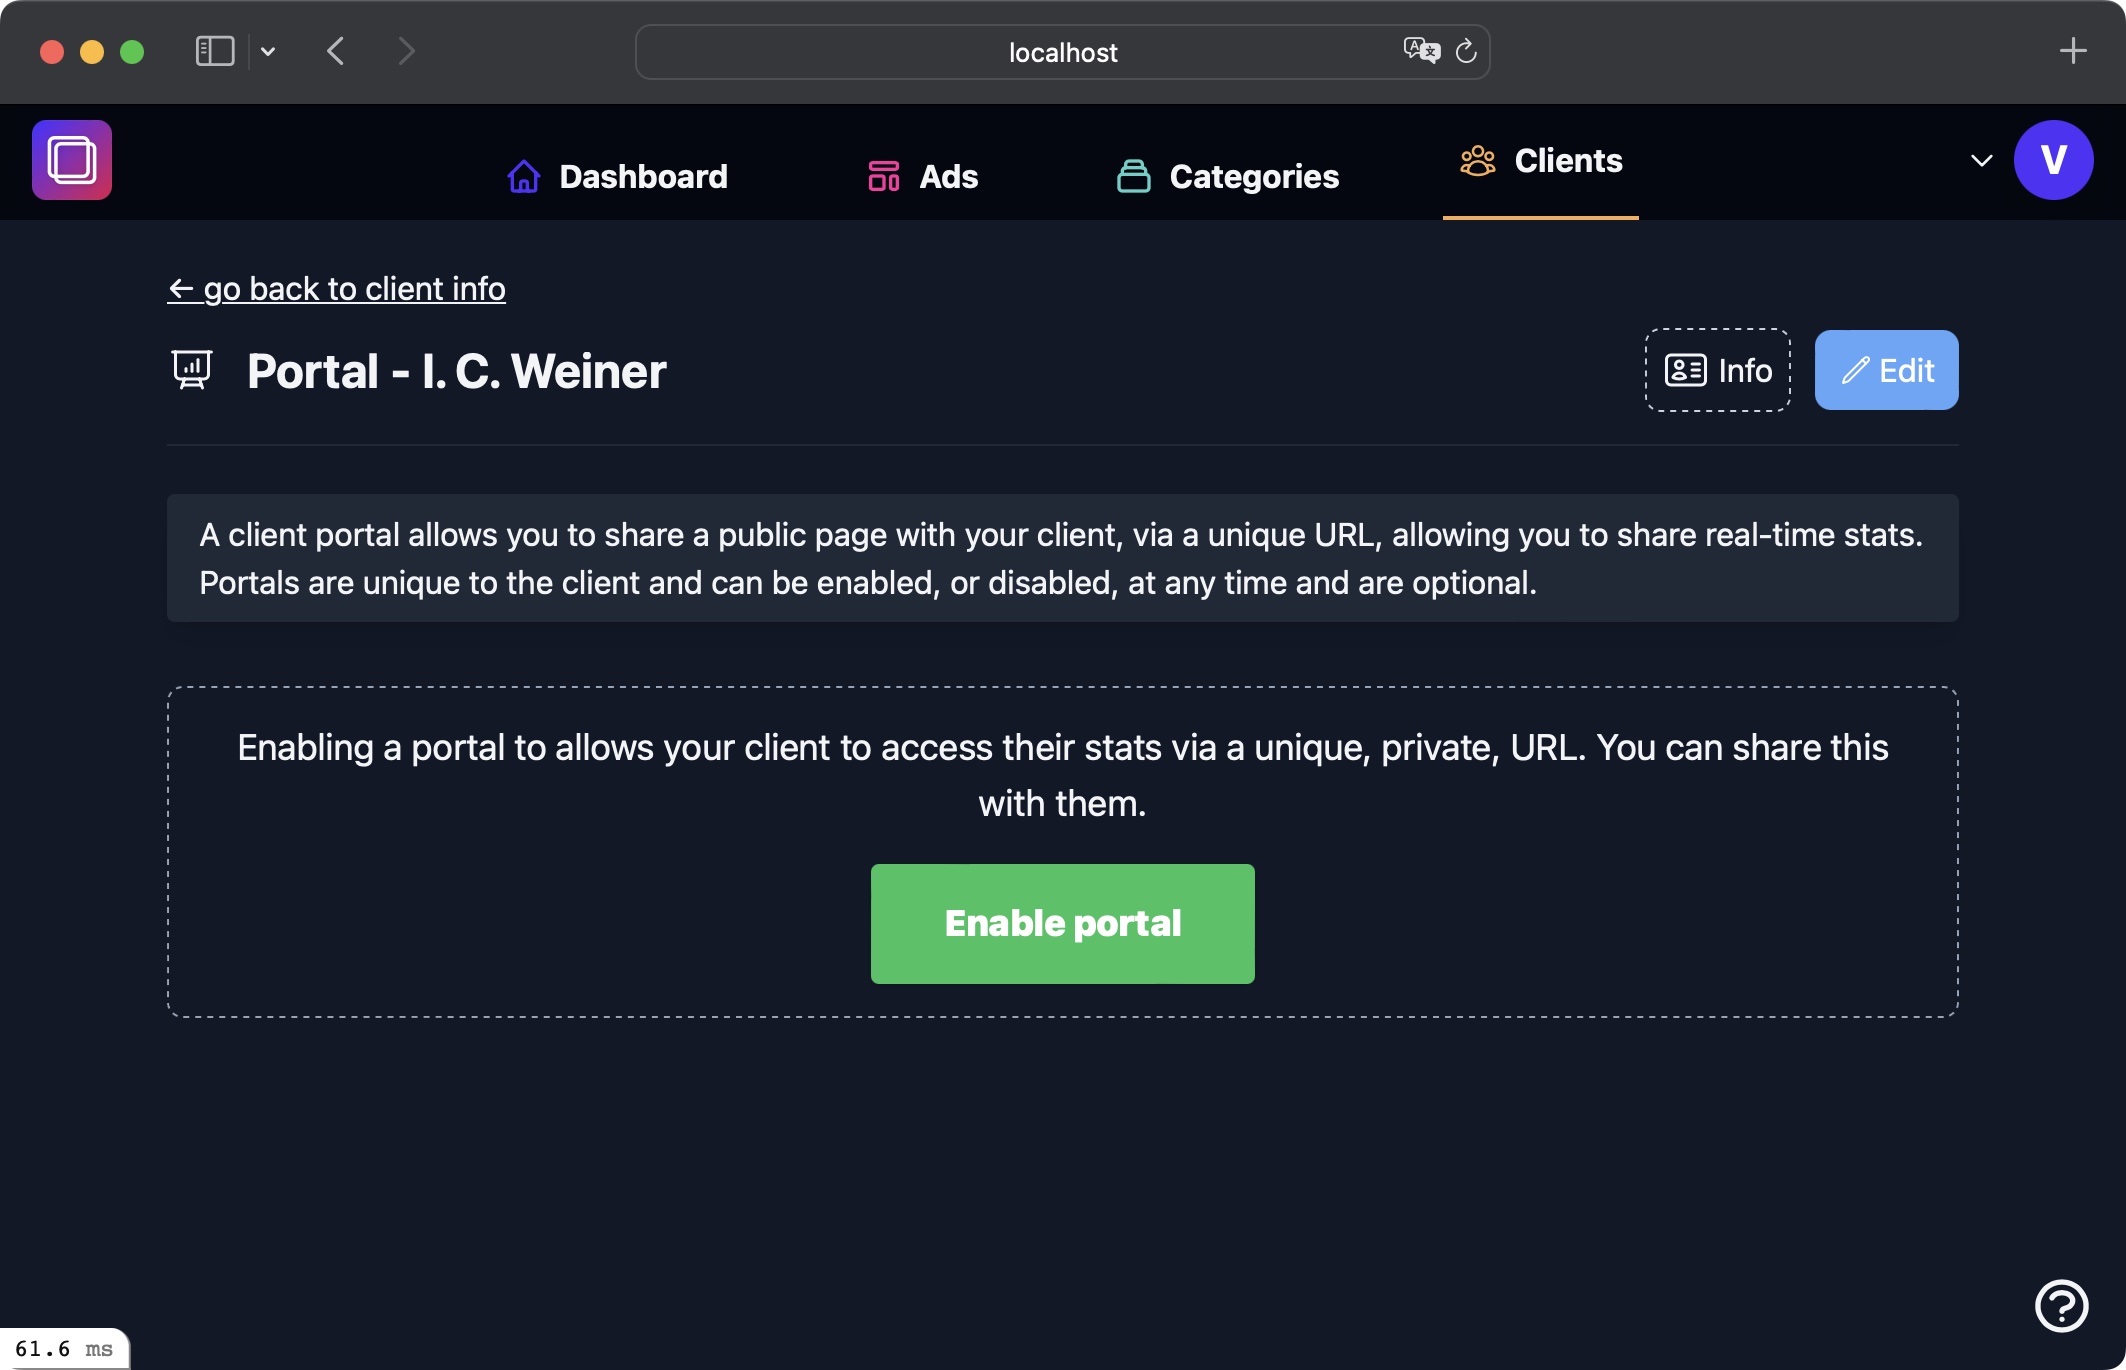
Select the Enable portal button to create one. If all goes to plan you'll have a new portal ready to go an share.
Share a portal
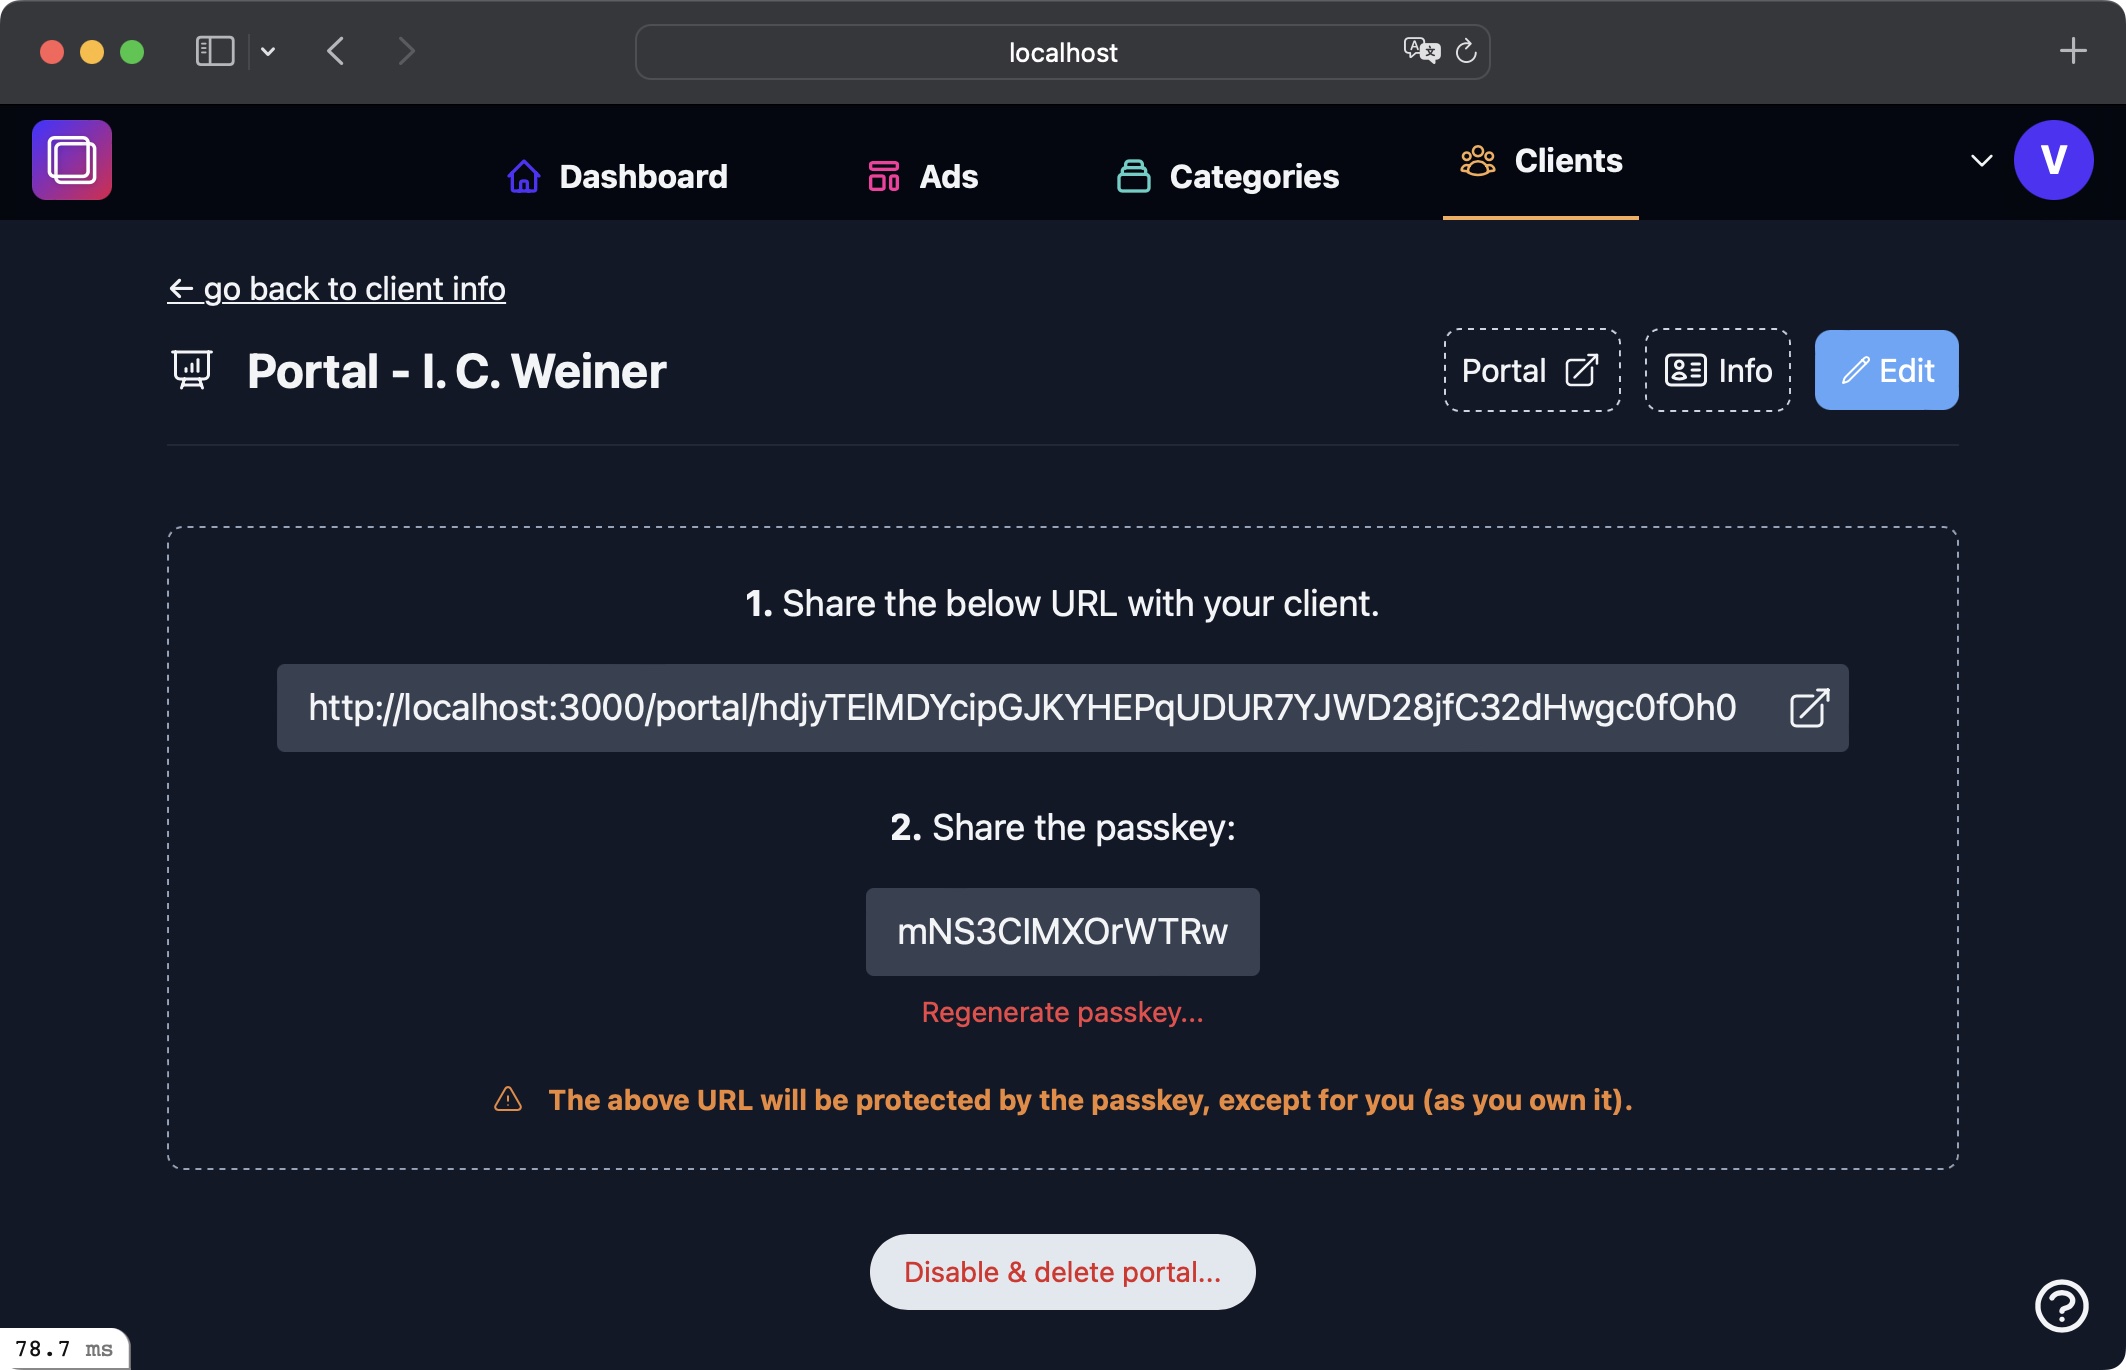
Once you have created a portal, you can see the details you need to share with your client. For the sake of simplicity, you may also preview this portal, without logging in, if the portal belongs to you and you are logged into the app.
Share the URL and also the Passkey with your client.
The URL and Passkey are always randomly generated.
If for some reason you want to regenerate the passkey without affecting the unique URL, then you can do so by selecting the Regenerate passkey... button.
If you no longer wish to share this portal, you can delete it.
Deleting a client portal
When you delete a portal, the unique URL is also deleted. You won't be able to use it again.
Sometimes it's better to just regenerate the passkey.
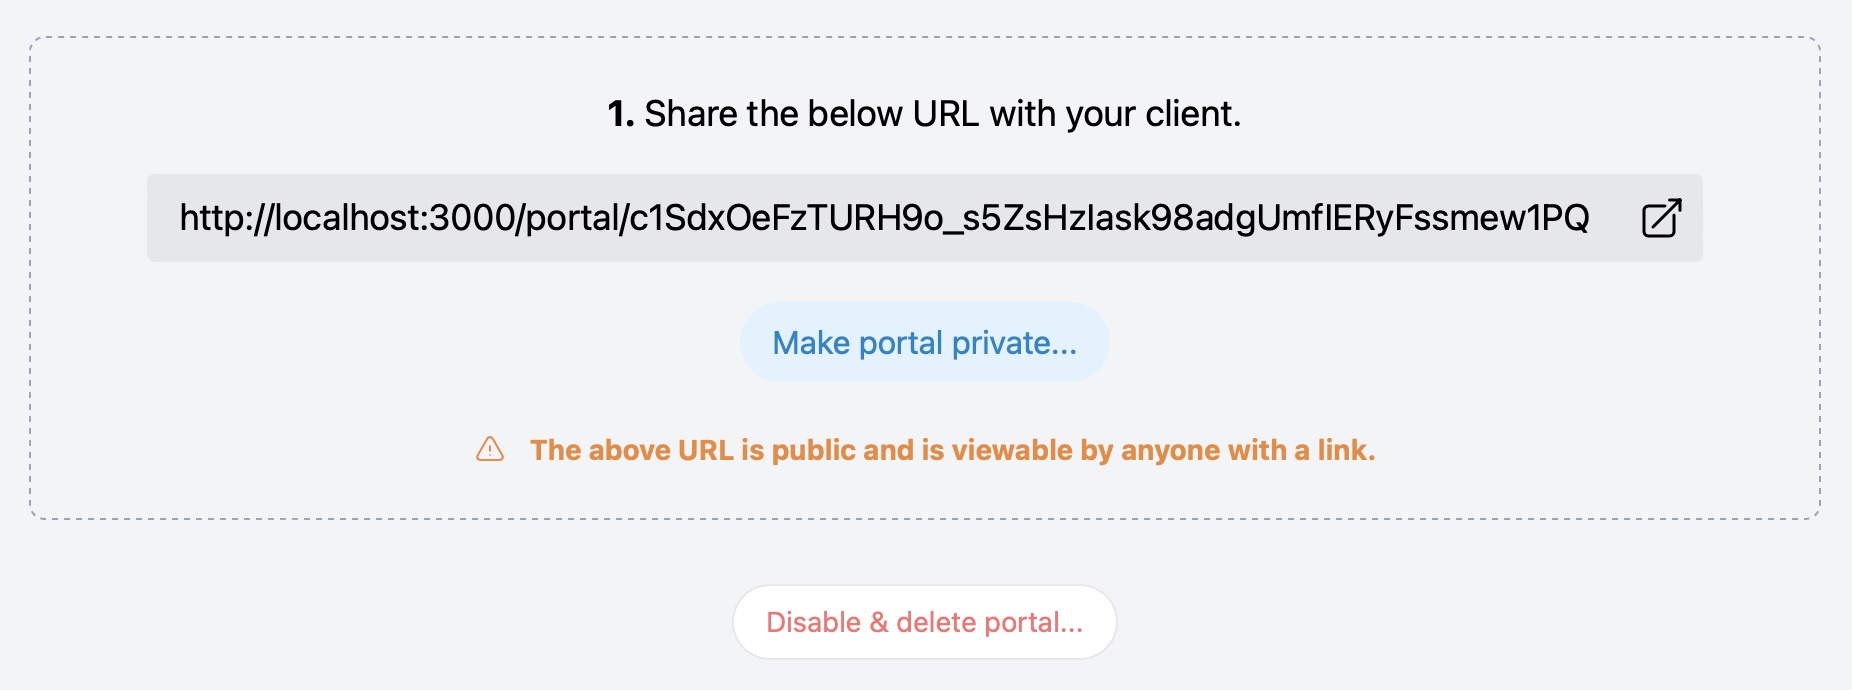
Marking a portal public or private
There is an option to share a portal without the passkey. Select the "Make portal public..." button below the passkey to make this happen.
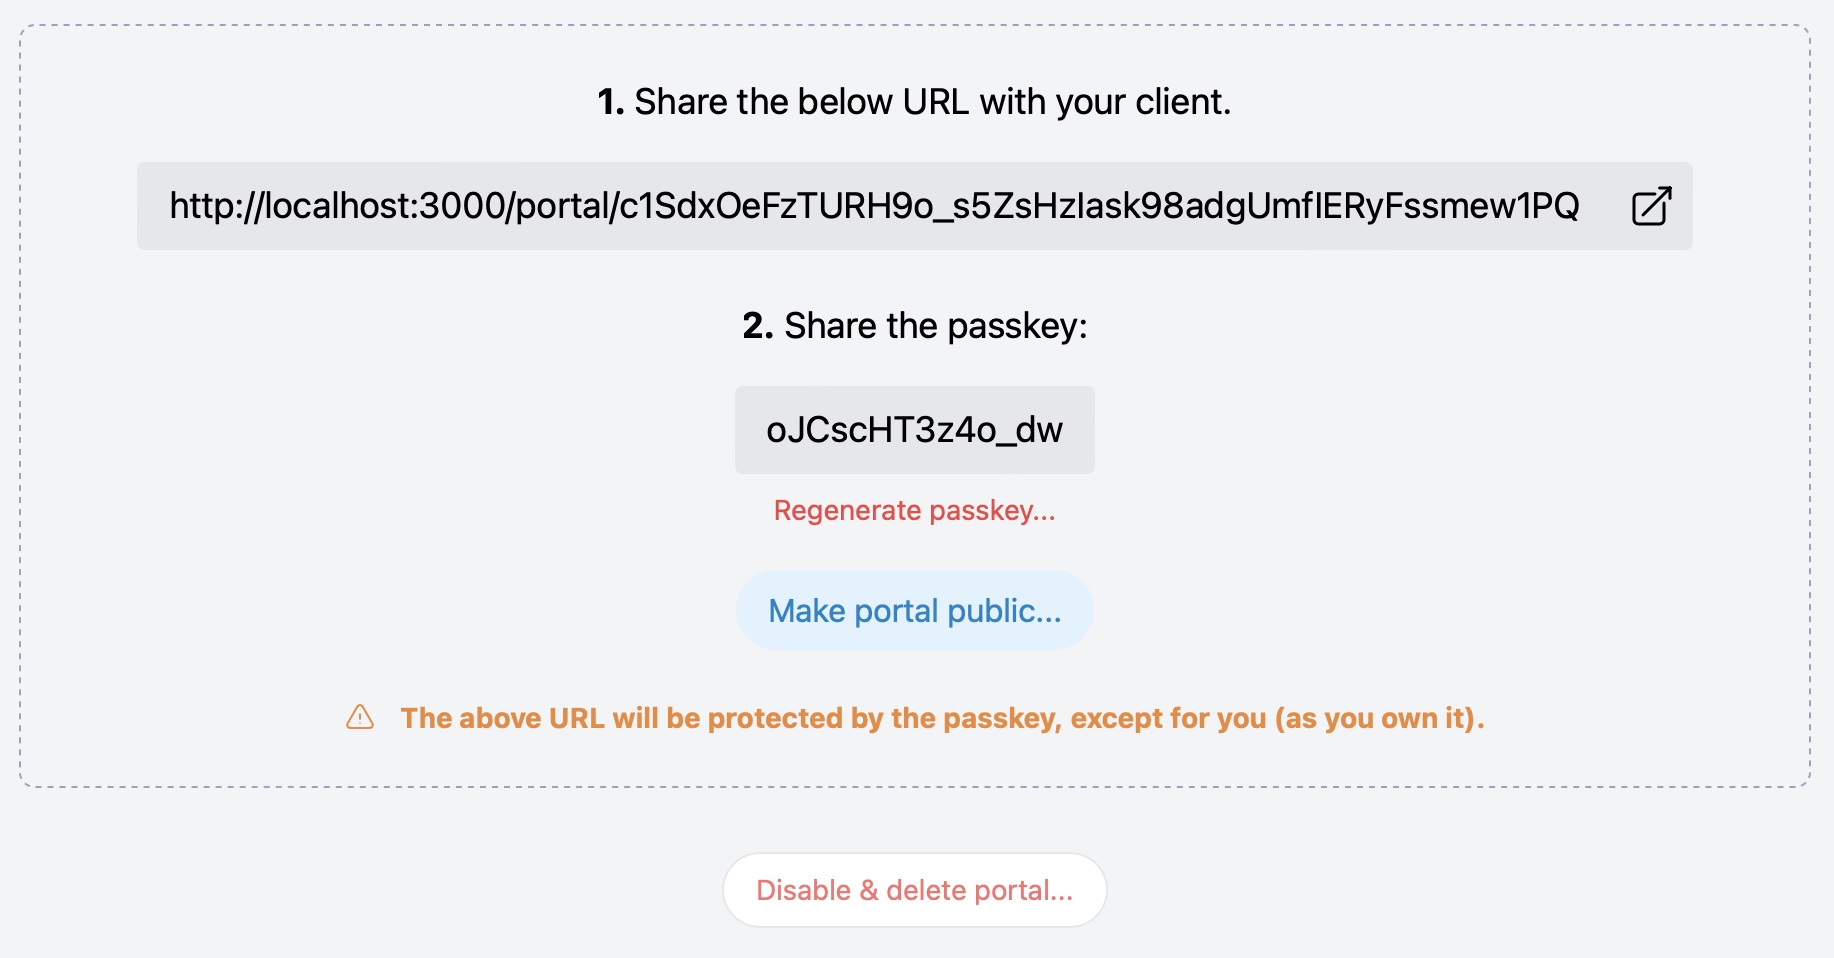
Once public, just share the URL. You can make the portal private at any time.
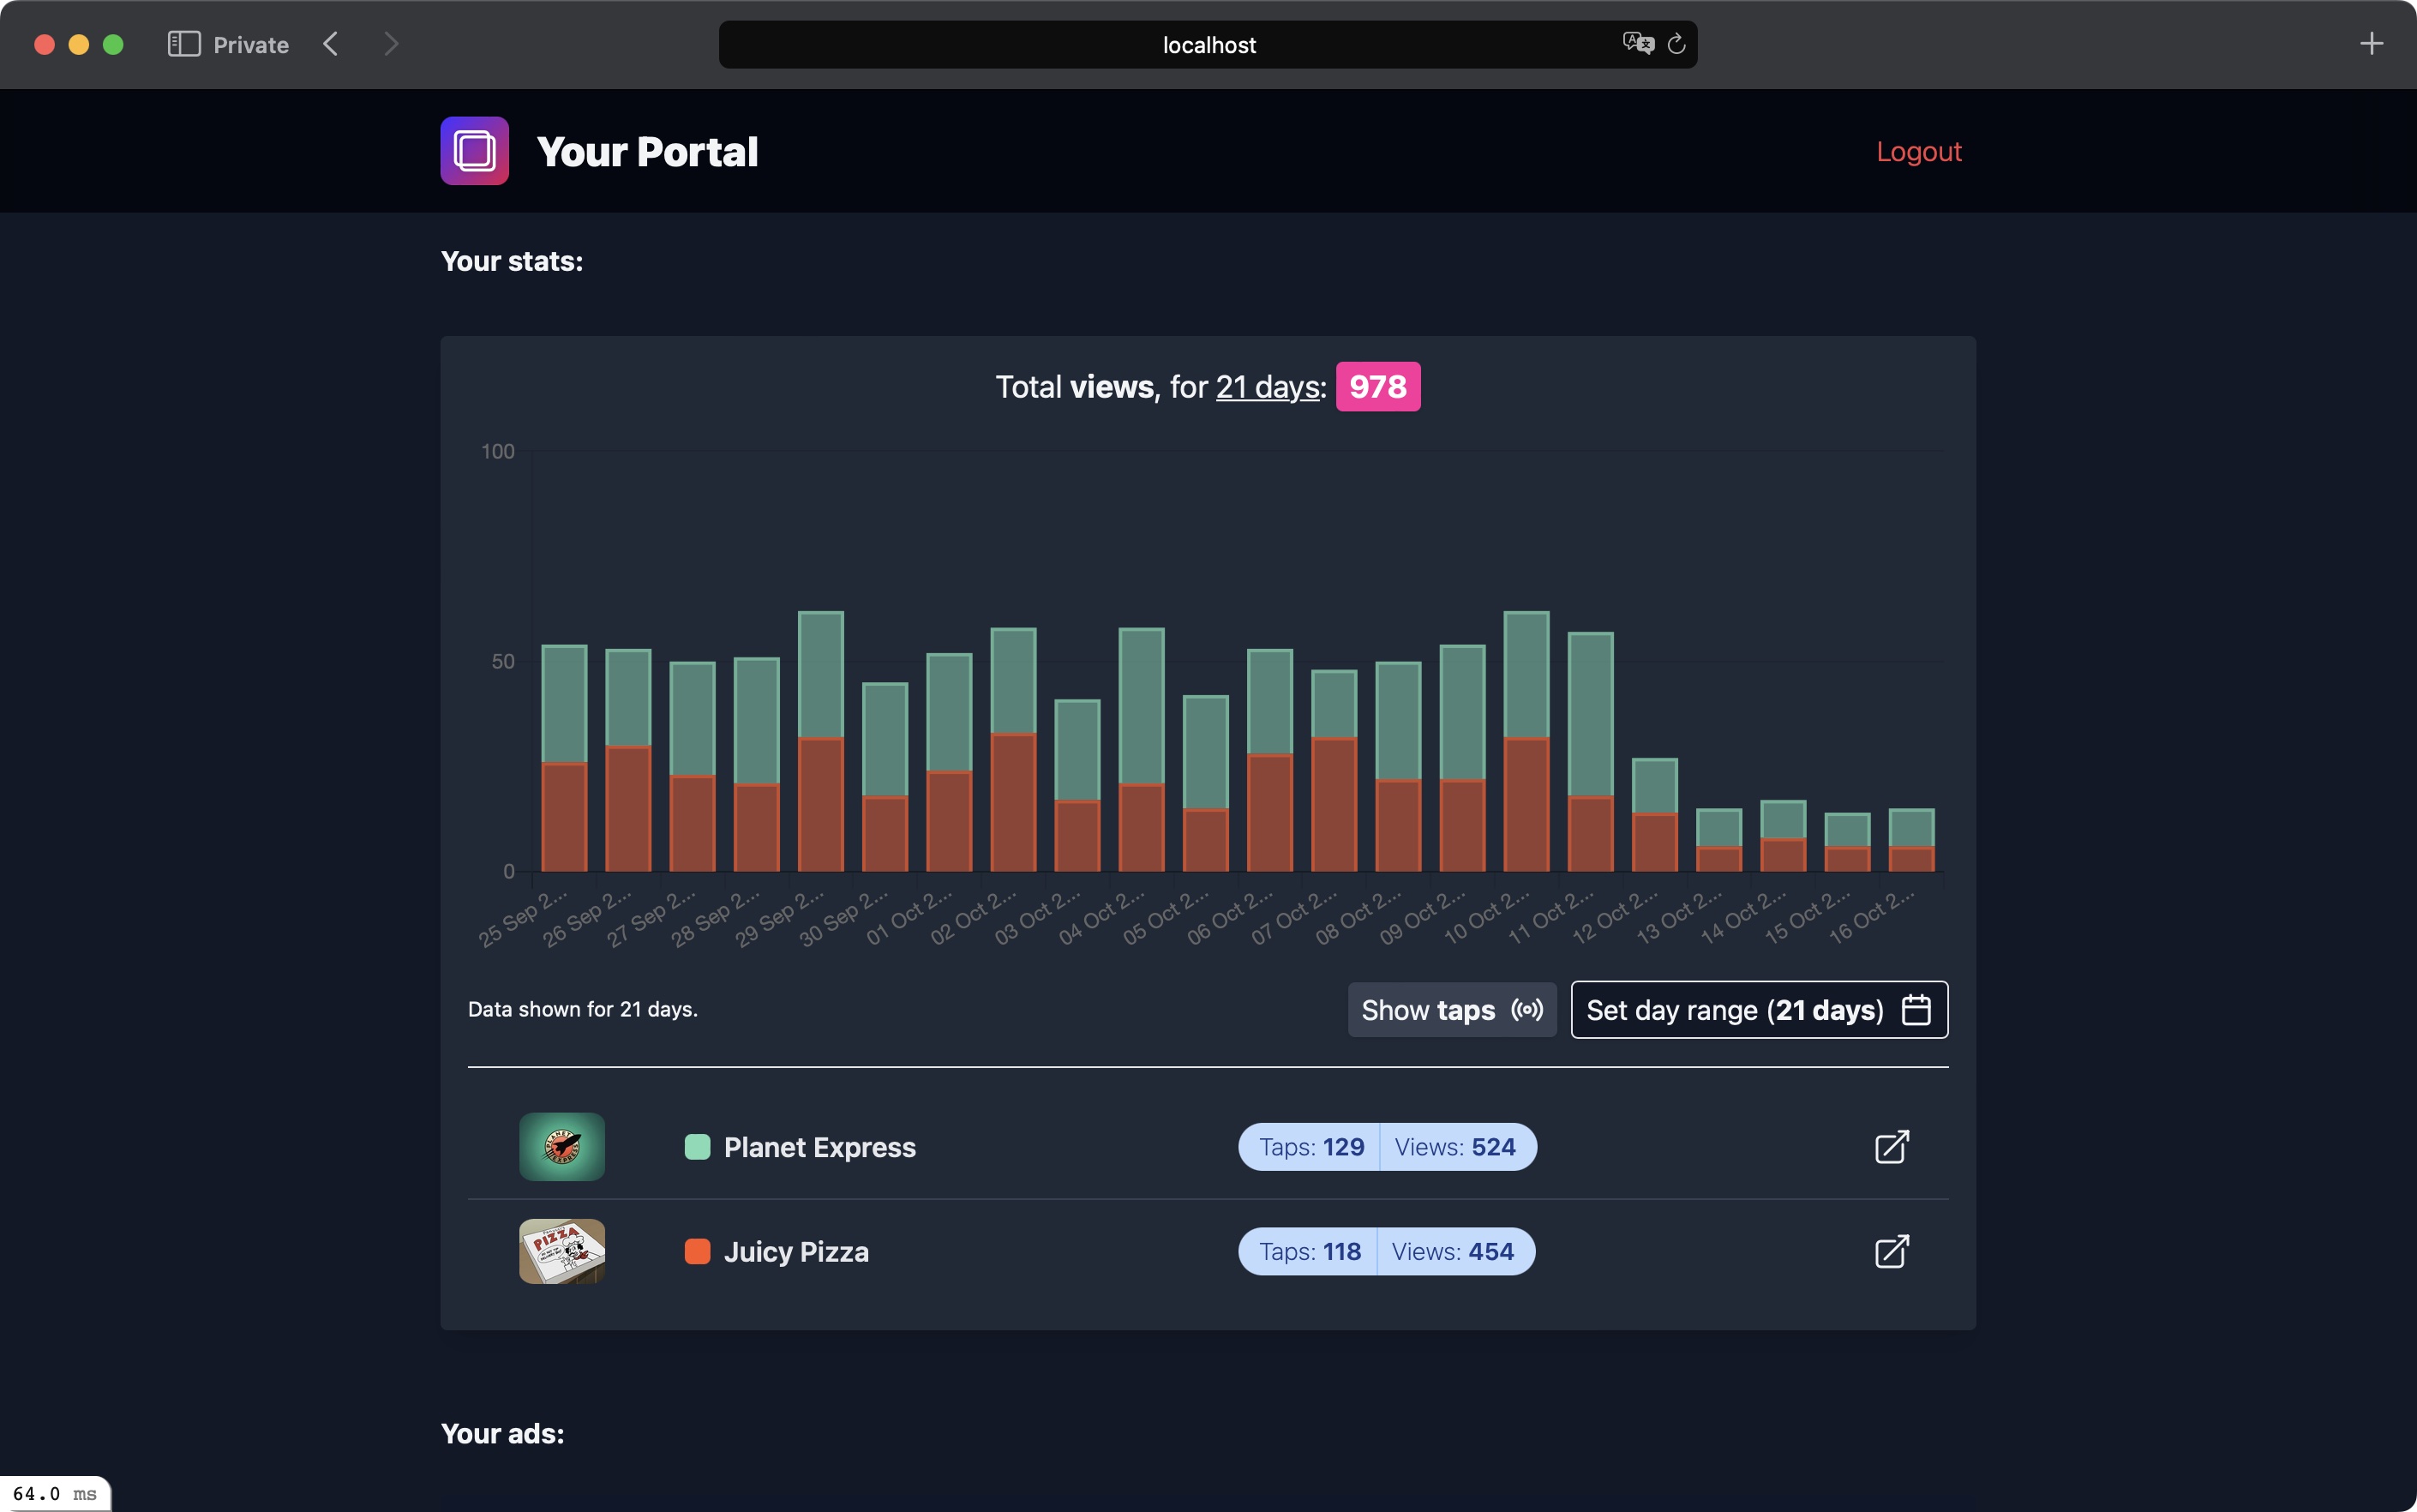
The Portal
The client portal is super easy to navigate, giving them an overview of the stats (just like you can see on the client page), and also a list of their running ads, including the link, content and status (if they're active or not).
Portals are passkey protected, so your client will see the login screen first before they can continue:

Once the correct passkey has been used, they'll be able to view their portal.
Portal session length
Once logged in, the current portal is stored in session data. That means we won't keep the client logged in all the time.
If the client wishes to log out, they may do so on the top right of the portal.
Portal options
Sublime Ads allows you to add extra options to all portals. This can be found on your settings page.
For now, these options come through to all portals, with an option to override these on a per-portal basis at a later stage.
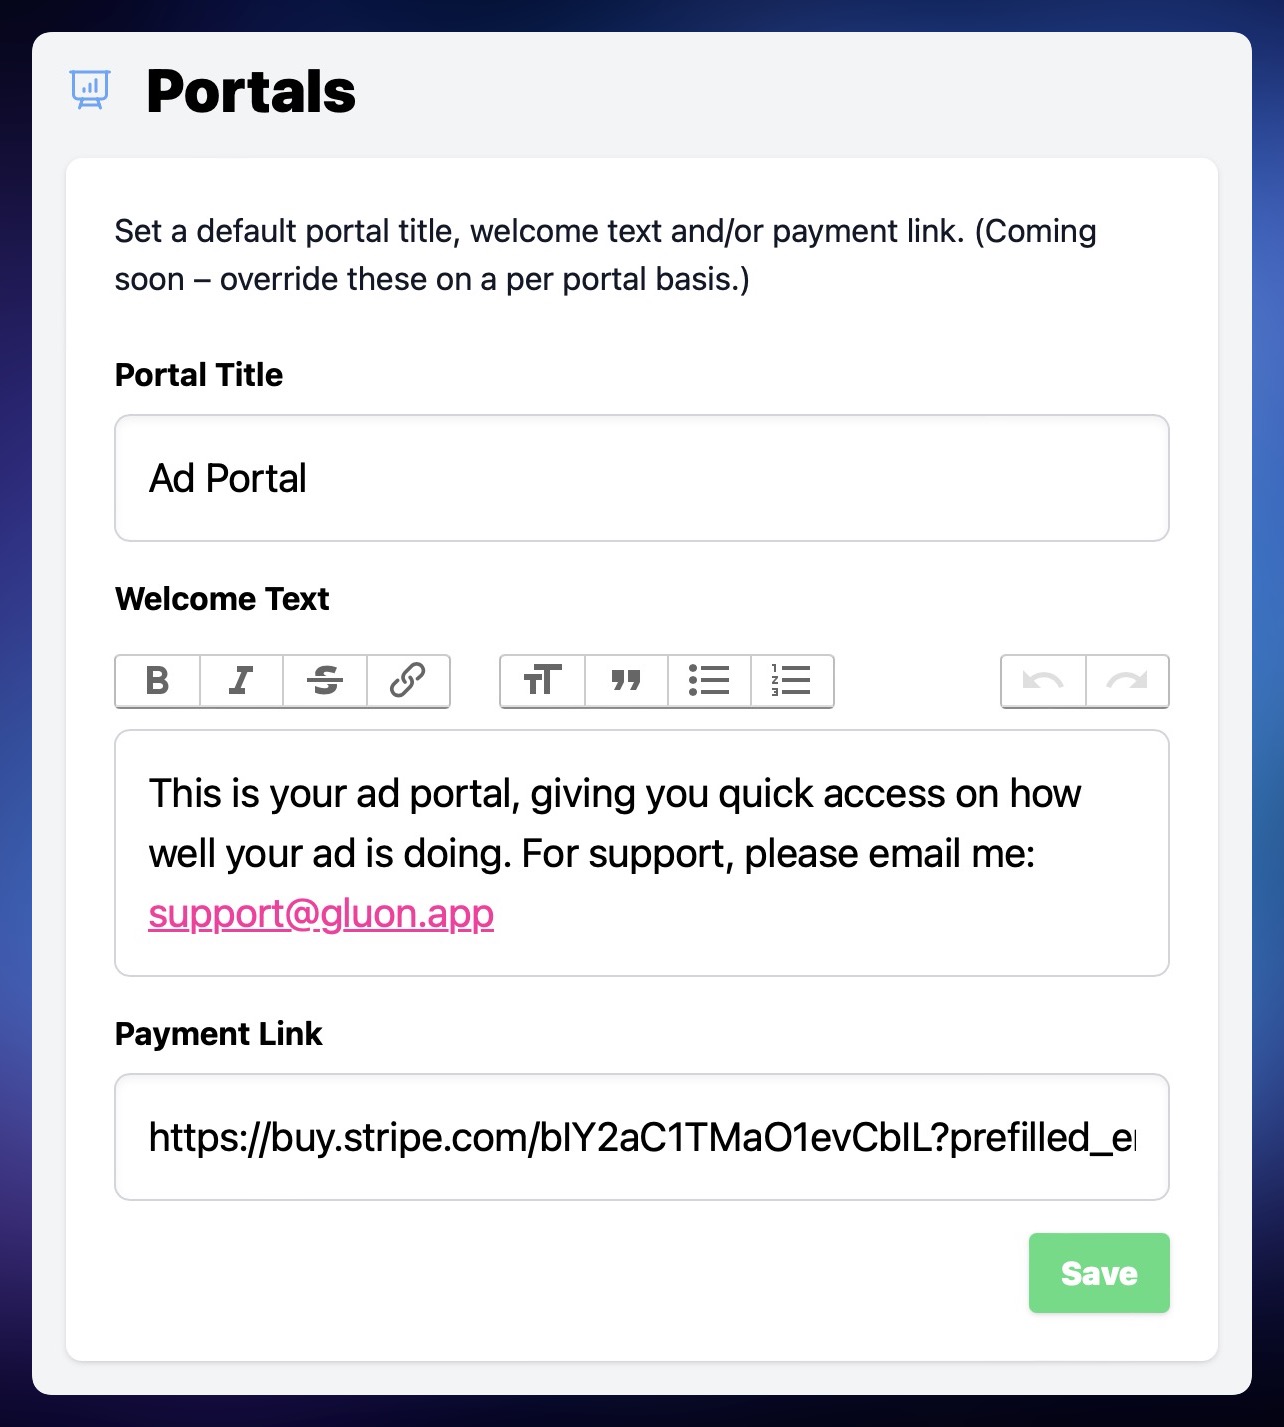
You can add the following extras:
Portal title
This is shown at the top of the portal, next to the Sublime Ads logo. The logo will use the Team image if one is set automatically.
Welcome text
Enter some helpful welcome text that's shown above the graph. Can be anything you want.
Payment URL
This allows you to show a "Make a payment" link in the header area of the portal. If you use a Stripe payment link, you can add a ?prefilled_email parameter at the end, and Sublime Ads will fill in the rest, if a client email is set up.

Portal options will soon be allowed be overridden on a per portal basis. We're also working on a way to enable payments through Sublime Ads directly, allowing you to connect a Stripe account, so you can have a better customer flow.