Ads, where it all begins
Everything begins with an "ad", although it doesn't strictly have to be an ad. It can be any content you want to show in your apps, sites, billboards... you name it.
Overview
If your ad list is empty, you'll have a quick intro and a simple button to get you started.

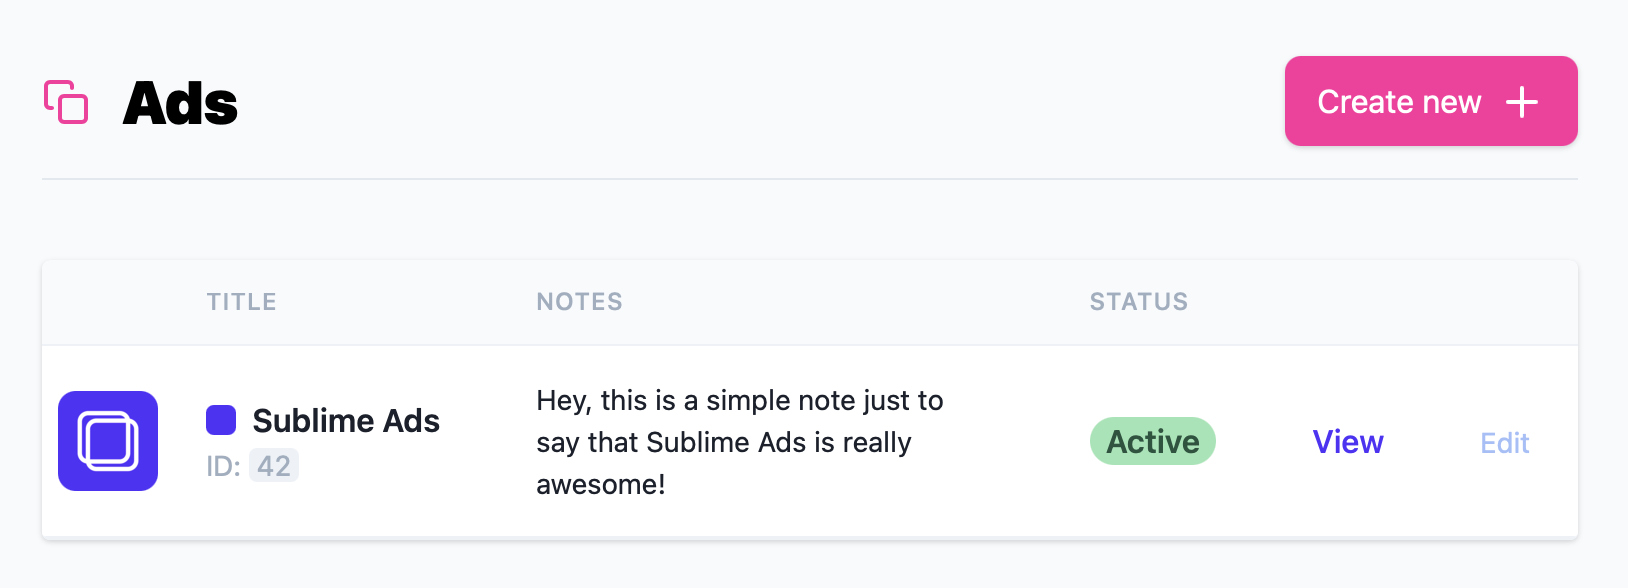
If you already have a few ads added, you'll get a nice list view.
Filter by ad status
It's possible to filter your ads depending on a predefined criteria:
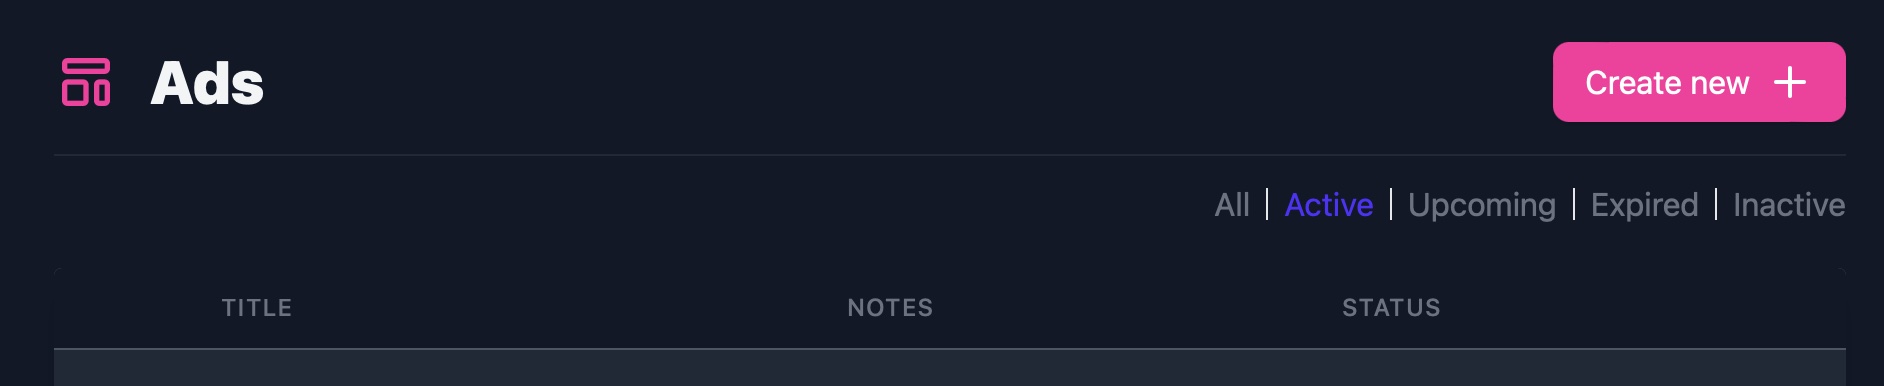
All
This options shows all ads, irrespective of status.
Active
This shows only ads that are currently active. If you have a scheduled ad, that is currently active on the date, it will show here.
Upcoming
This shows any upcoming scheduled ads.
Expired
Any scheduled ads that expired will appear here.
Inactive
This only shows ads that are paused.
Create an ad
Click/Tap on the "Create new" button (as shown above). This takes you to the quick and easy to use editor.
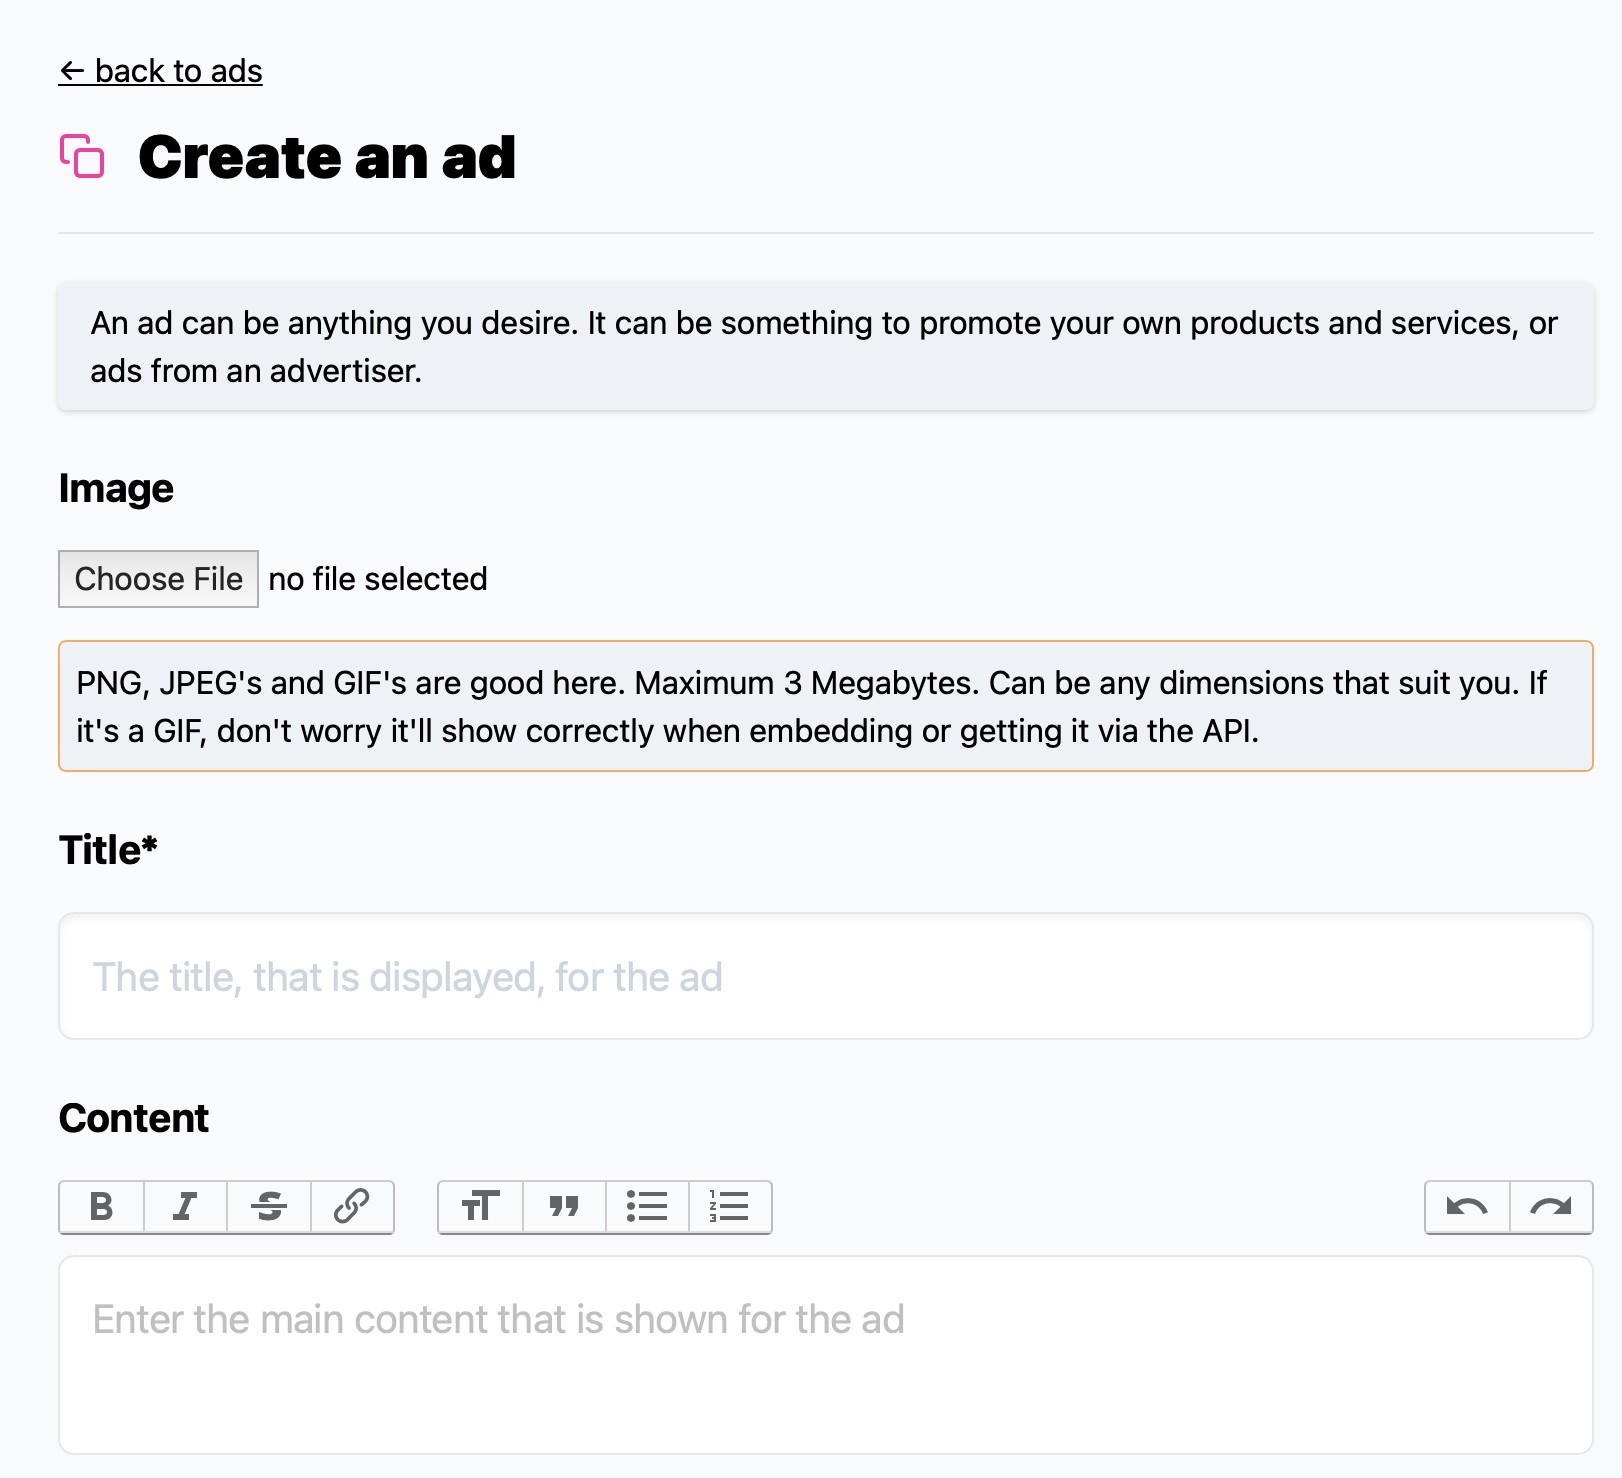
Anything marked with an asterix (*) is required. It's minimal and only a title and url is required.
Let's go down the form, step by step:
Image
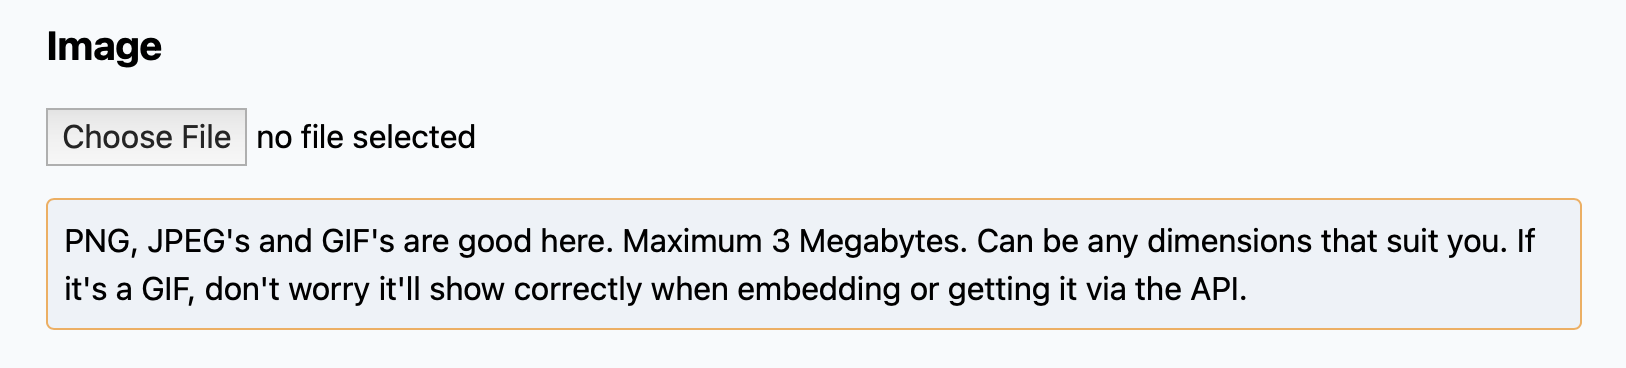
If you want to display an image, together with your ad, upload it here.
PNG, JPEG's and GIF's are good here. Maximum 3 Megabytes. Can be any dimensions that suit you. If it's a GIF, don't worry it'll show correctly when embedding or getting it via the API.
Images are uploaded and stored with Sublime Ads, served via Cloudflare so that they load fast.
Title *

This is a required field. Set the title of the ad. For example "Black Lives Matter" or "Sublime Ads" or "My awesome app".
URL *

This is a required field. Add the URL the link to the ad should redirect to.
Sublime Ads allows you to track the taps/clicks an ad receives through a special link that is tied to the ad. To make that happen, a special URL is created that goes through Sublime Ads. Once that is tapped/clicked it will redirect to this URL.
For anything more advanced you can always append a query string to the URL so you can get a little bit more data on the other side.
Content
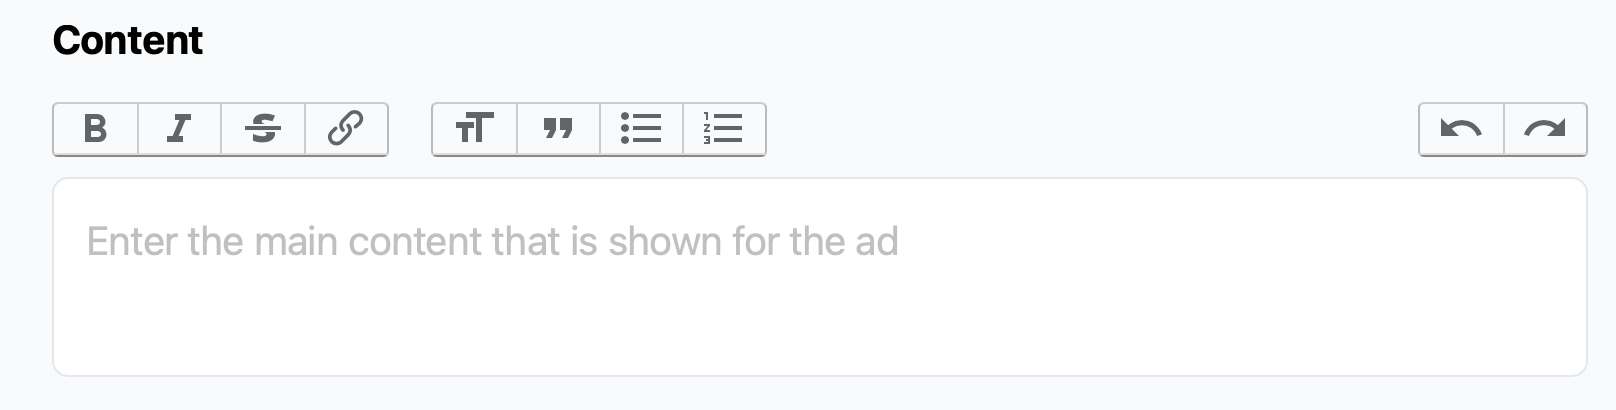
This will be the main content of your ad. Feel free to add some basic text formatting here. Sublime Ads will pass back some nice HTML for you to use. We'll also provide you with a plain text version of it when requesting ads through the API.
Linked Categories
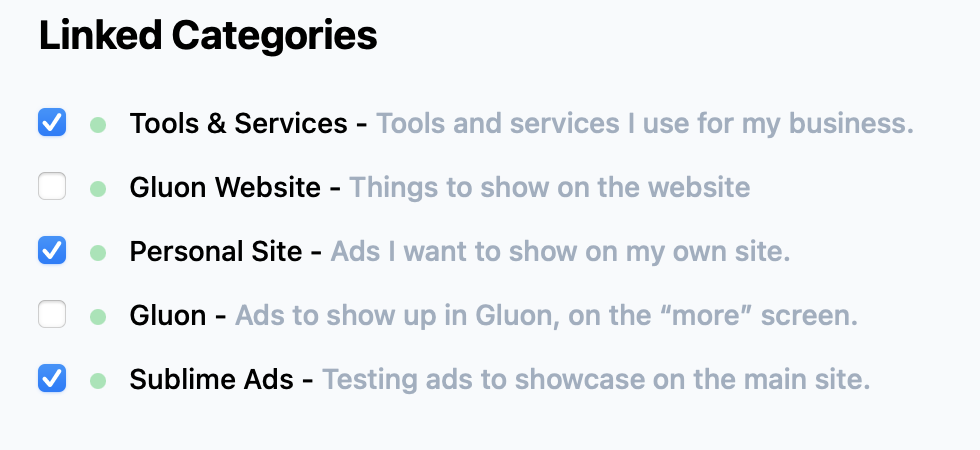
If you have set up categories, they will show up here as the example above. Select any category where you want to link the ad to. It's as simple as that.
Anything with a green dot means it's an active category - you can pause them if needed... but this is not the place to discuss that.
Schedule
PRO feature

You can schedule an ad to start and/or end on specific dates of your choosing. Just select either input box to bring up the date picker and select your values.
Start dates start at midnight on the day. End dates end at midnight on the day. Note that times run at UTC.
If you select both and end and start date, you will not be able to set an end date before the start date and vice versa.
You can select to just have a start date, to start an ad on a specific day without an end date. Or you can set an end date, without a start date, which means the ad will run immediately up until the end date.
To clear the schedule, just clear the dates using the "X" button found in the input.
Accent
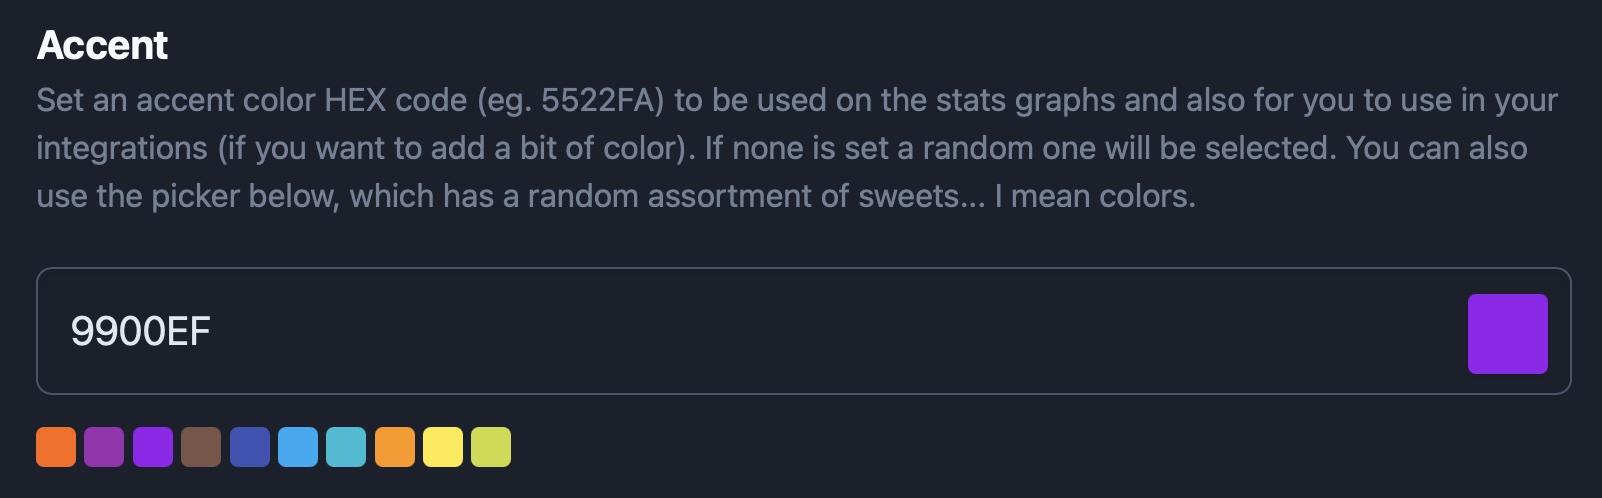
Give your ad an identifiable colour, so it's easy for you spot in the statistics graph or on the ad list, this also comes through the API. so use it as you wish.
Set a HEX code, or use the random generated ones. It's up to you. Candy!
Tag
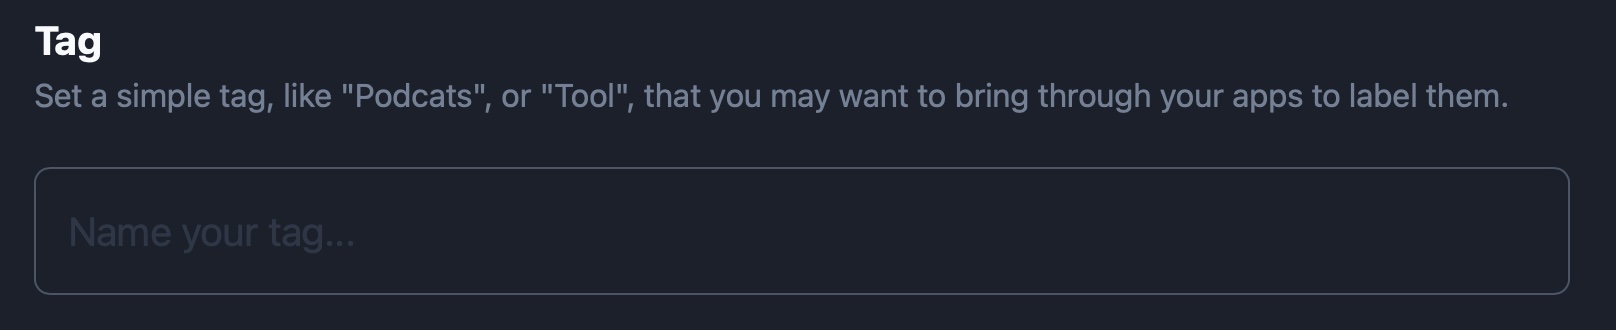
Set a simple tag, like "Podcast", or "Tool", that you may want to bring through your apps/integration to label them.
Notes
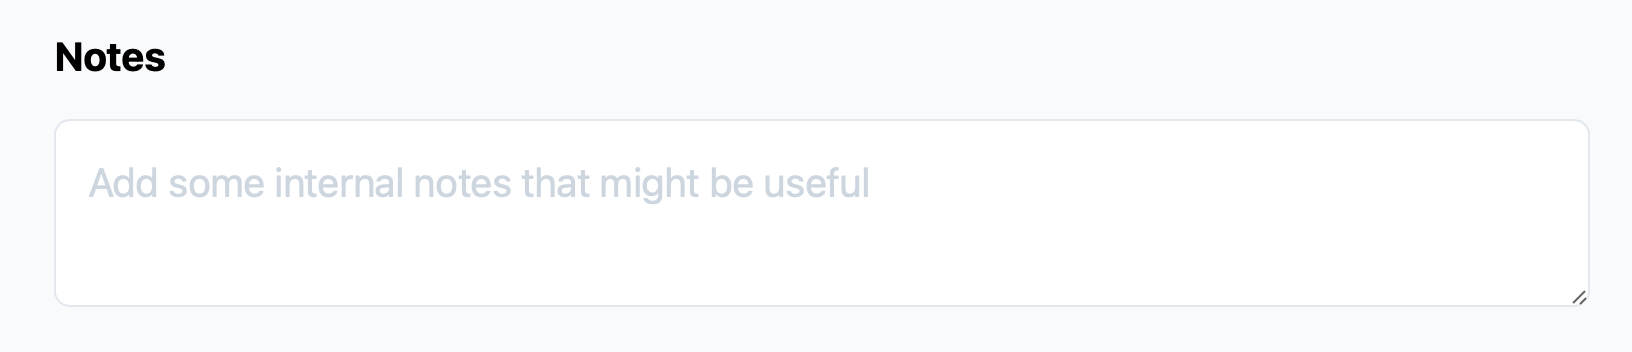
Notes are... notes. They're meant for internal purpose only. Do what you need here. If you're selling ad space to an advertiser, keep notes about them here.
Pause
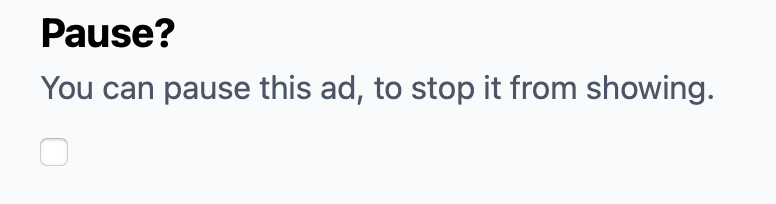
You can pause the ad at any time and it will be marked so from the API. If you're using the embed API it will not display.
Just a simple toggle.
Create
Just press the "Create" button at the bottom and, on success, you'll be redirected to your freshly made Ad detail screen.
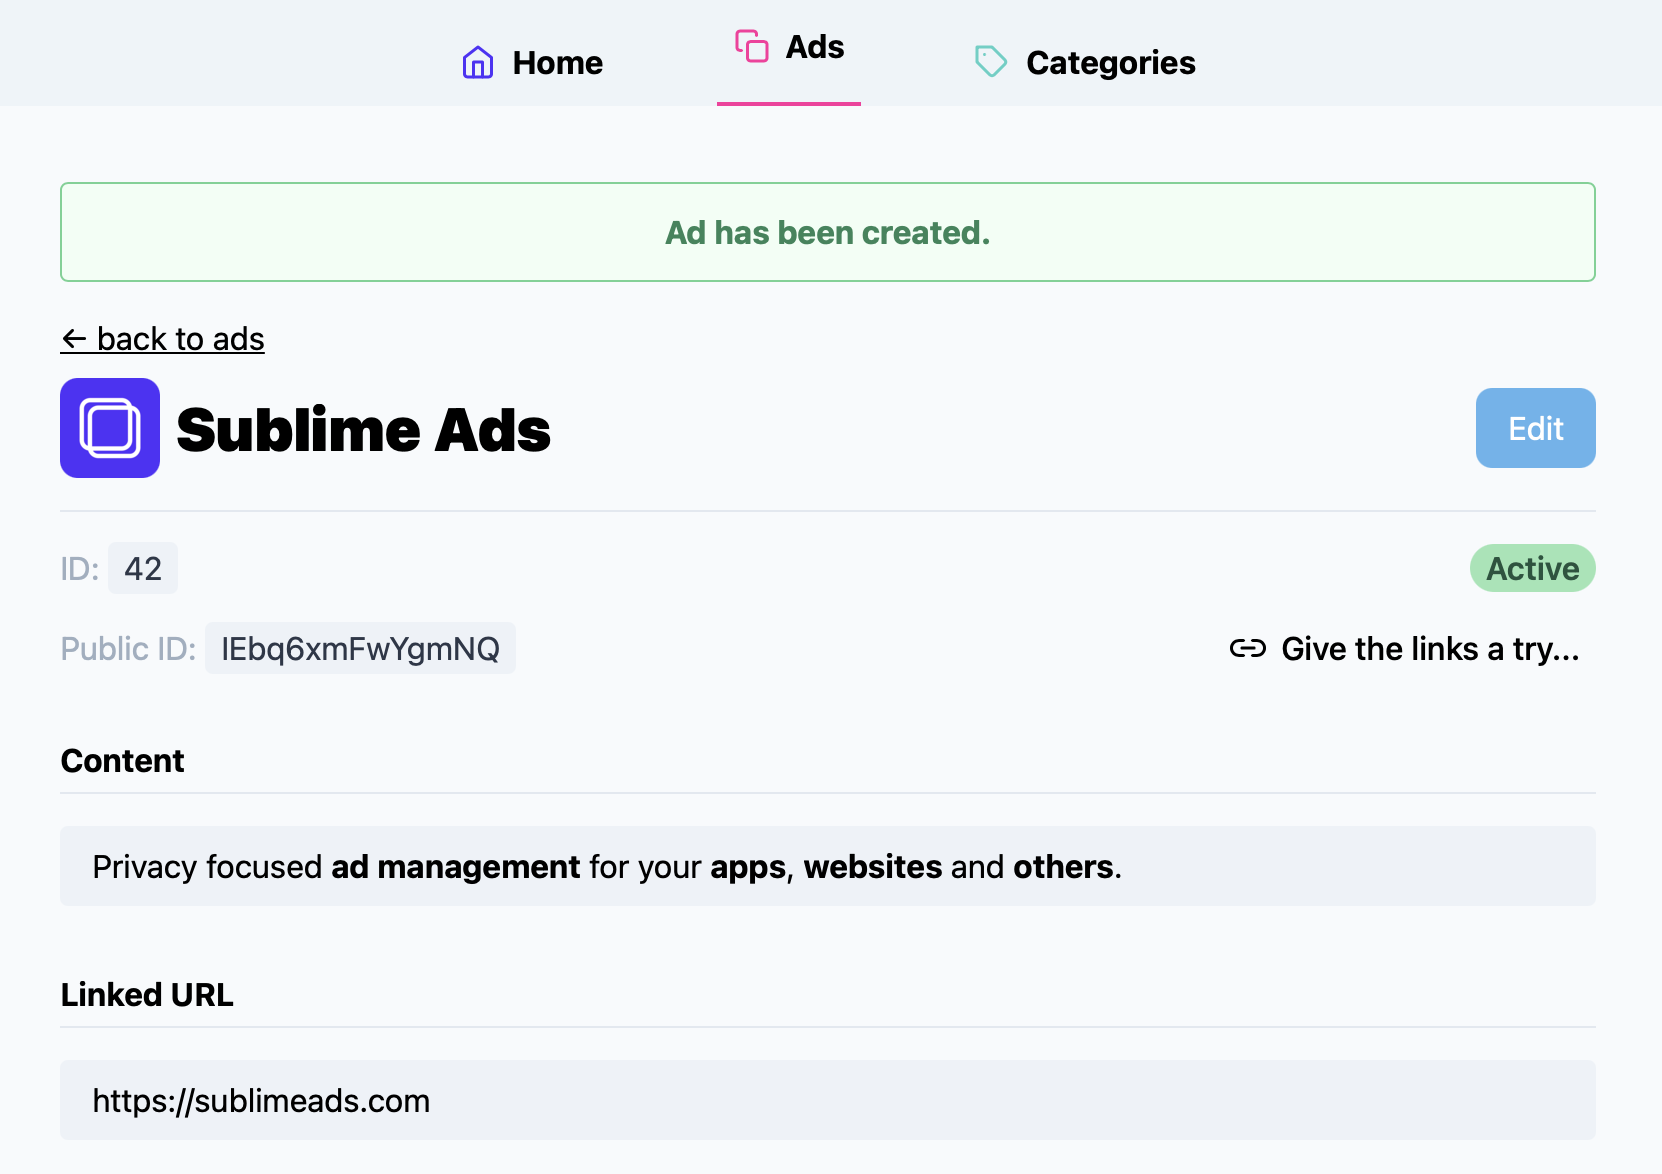
Details
The detail screen gives you an overview of your ad content and statistics. On top, you can quickly try out how the links work.
Each ad has an id and also a public id that you will use with the API. Check out the API docs for more info.
You also can go ahead and "Edit" the ad no problem, using the Edit button on the top right. On the edit screen, you can also delete the ad if you so wish.
Links
You can test out the URL and redirects with our simple dropdown. Just hover over the Give the links a try... button to see your options:
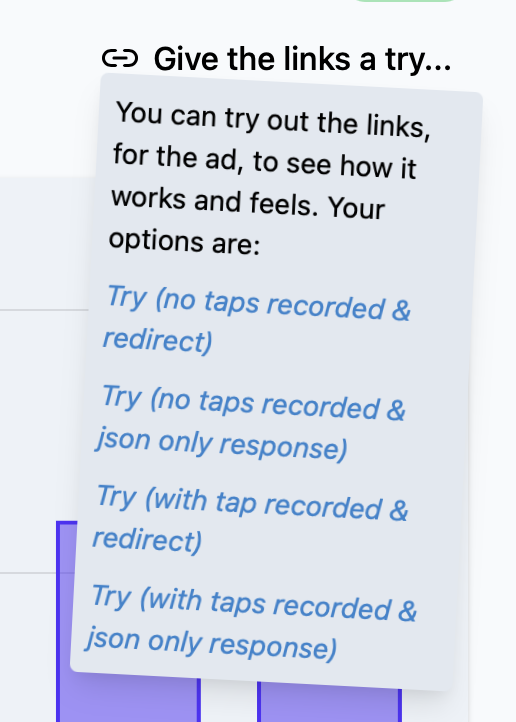
A few options for you:
- Try (no taps recorded & redirect): This will redirect to the URL given when you set up the ad. Notice that it will go to the special
linkurl on Sublime Ads first. No tap is recorded. - Try (no taps recorded & json only response): It's the same as above, but with a JSON response instead with the details of the ad. No tap recorded.
- Try (with tap recorded & redirect): Same as number one above, however it will also register a tap in your statistics.
- Try (with taps recorded & json only response): Same as number 2 above, again it will record a tap.
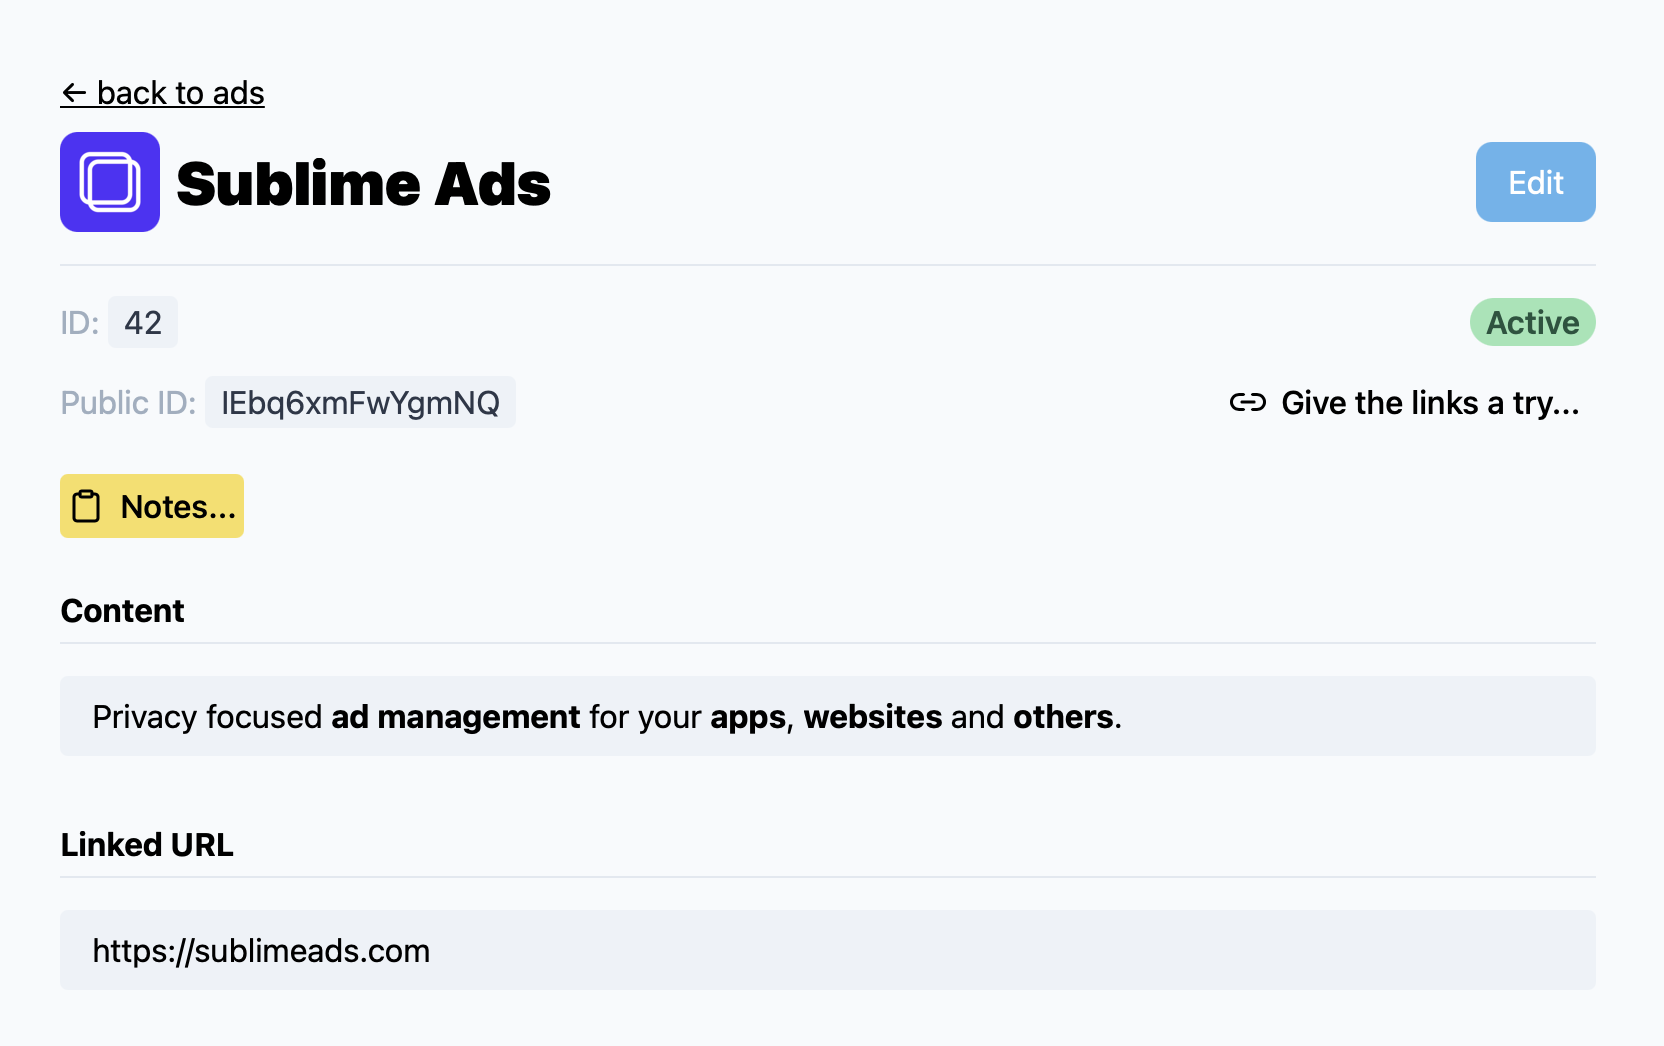
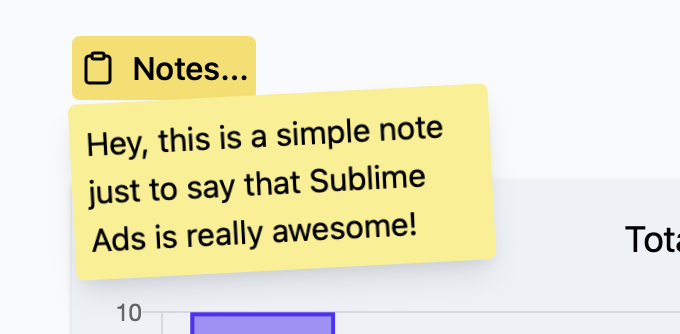
Notes
Just your notes. Hover over to display:
Statistics
PRO feature
Once your ad has data for stats, we'll show you a nice graph. It's colour coded to your label, so it's easy to spot when viewing combined data on the Dashboard. Here is details view with stats.
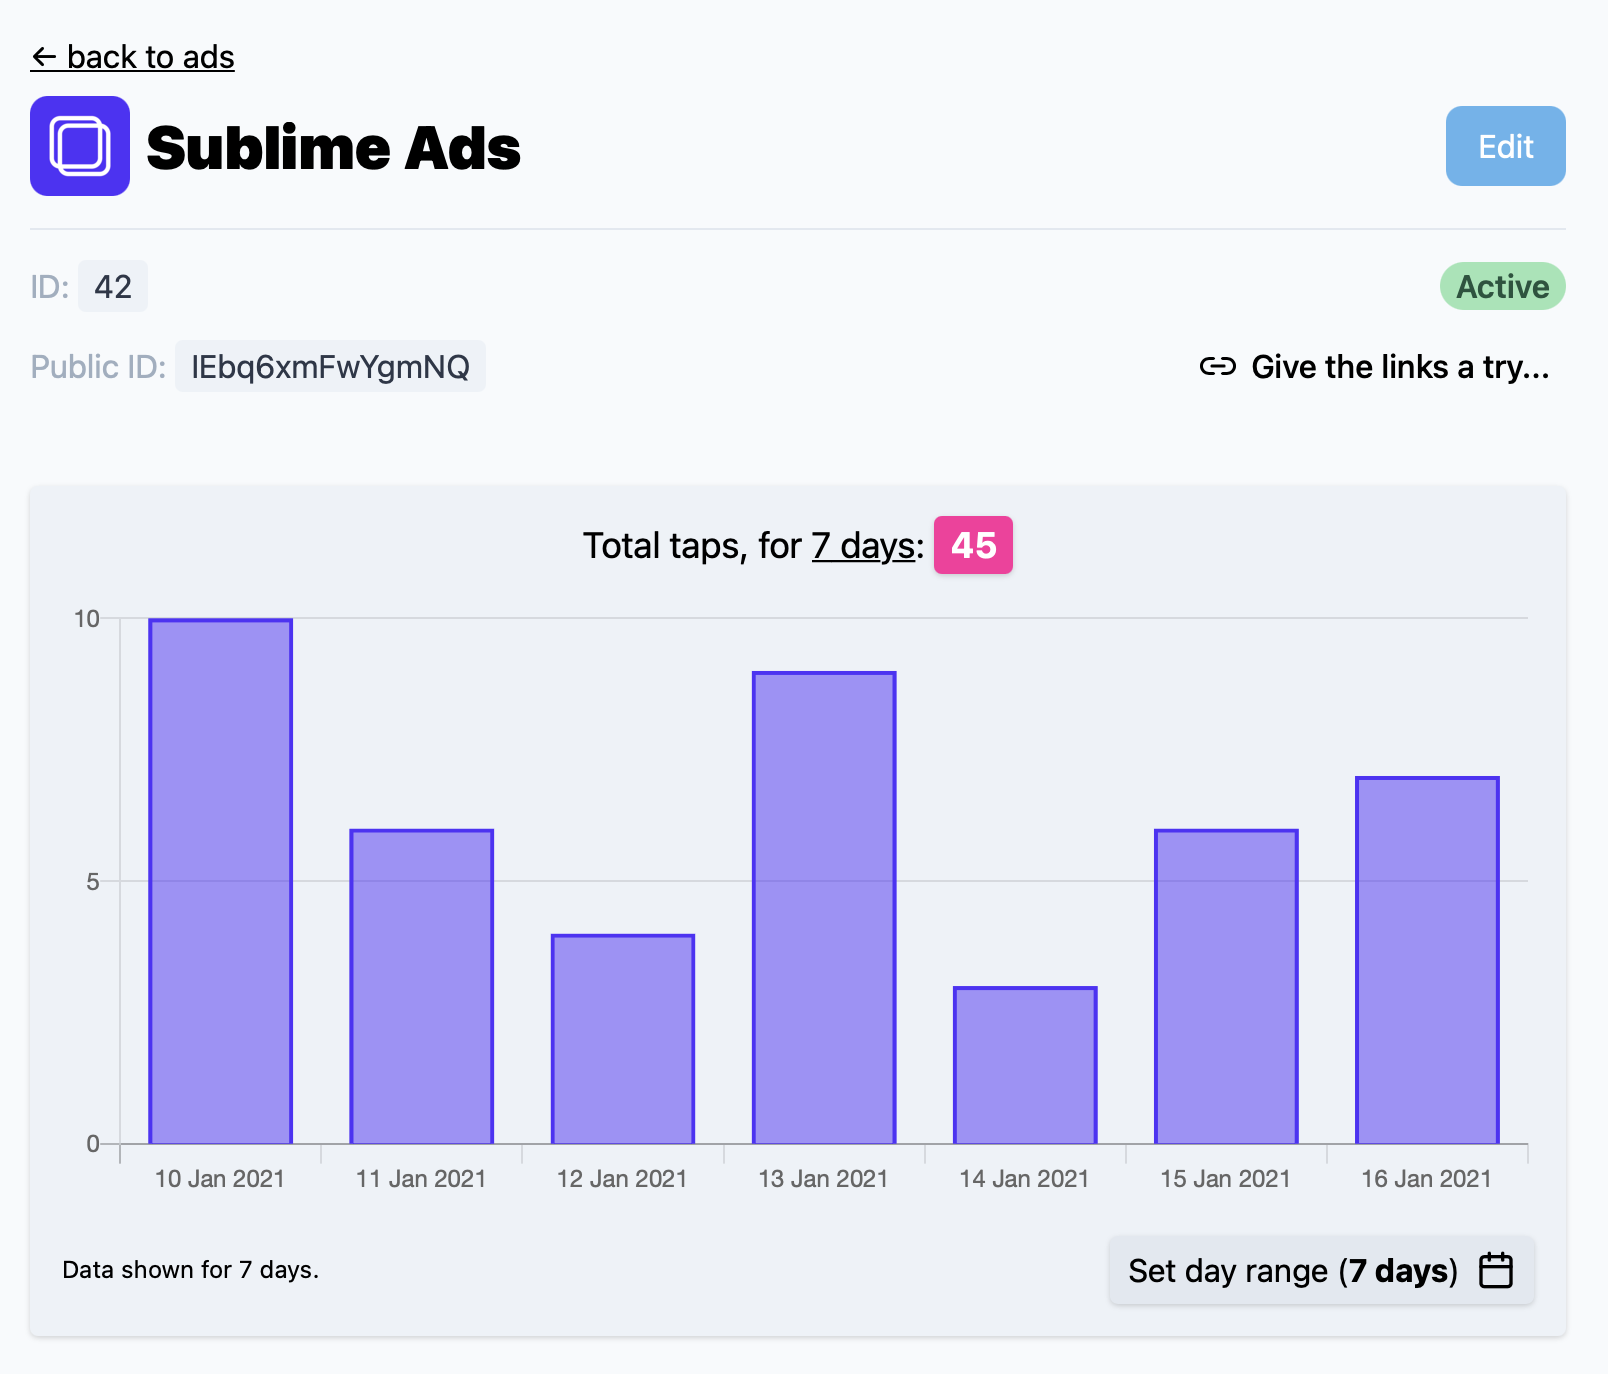
Use the date filter to toggle your date range. Hover over any bar to get exact numbers for any given day.
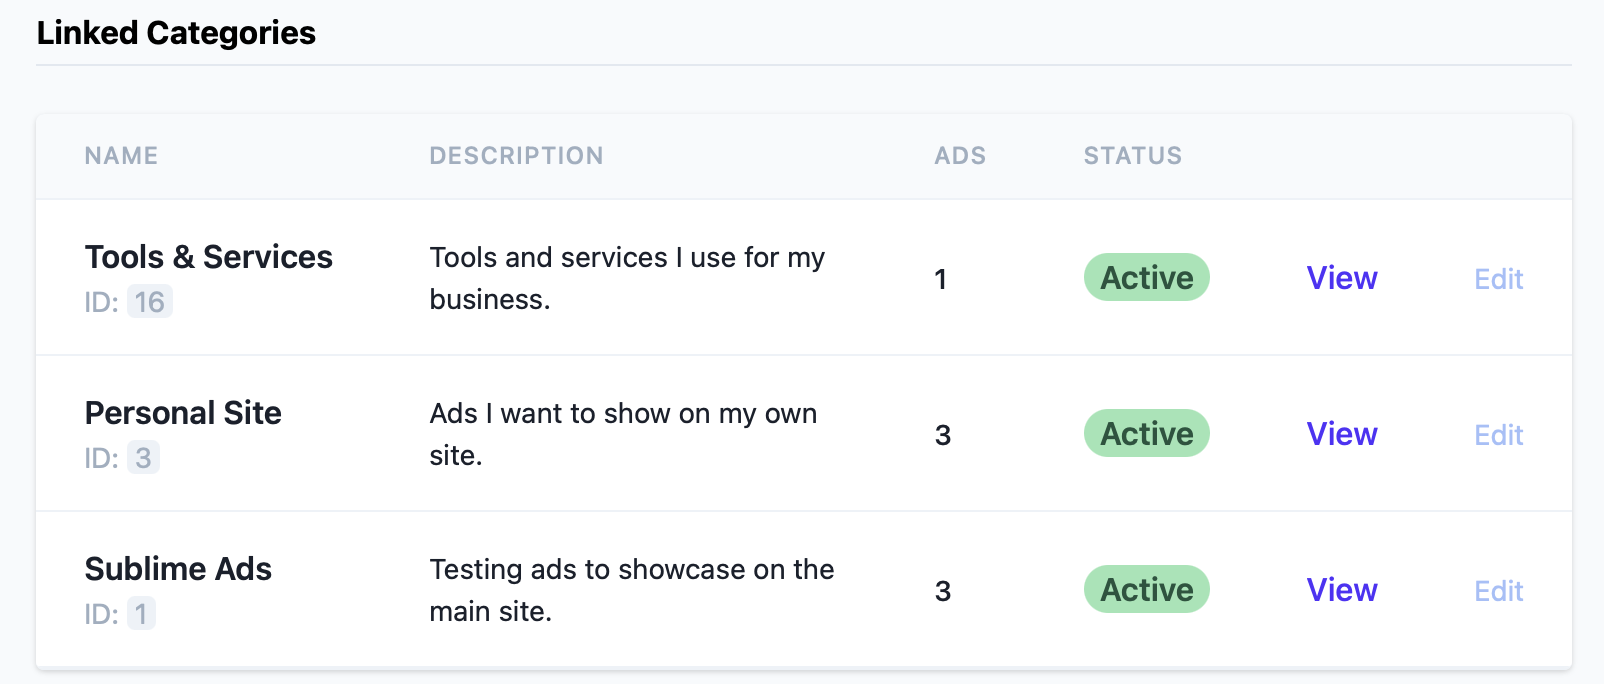
Linked categories
If the ad belongs to one or many categories, they will show up at the bottom. Makes it easy to navigate. To edit, just "Edit" the ad and unselect, or select, your linked categories.
Deleting & Pausing
It's easy to delete an ad. Just go to the "Edit" screen and select the Delete... option on the top right.

Note that instead of deleting you can also pause the ad. Useful if it's a repeat advertiser/sponsor that comes back every other month.
Statistics
When you delete an ad, all related statistics will be deleted.